Recipe Video - https://www.youtube.com/watch?v=2a0fbPQBB_c
Ingredients
Stewing Chicken (or other tough meet)
Salt
Curing Salt #1
Oil
(Optional) bacon fat, beef tallow, or other flavorful drippings
Herbs and Aromatics
Equipment: immersion circulator, hotel pan/steam table, half-size hotel pan to insert.
Traditional confit was a preservation technique that involved curing meats before gently poaching them in fat. This product was then generally stored covered in a layer of fat. Now this isn’t necessary, thanks to refrigeration, but the cooking technique has persisted. It actually has quite a few similarities with modern sous vide cooking. Firstly, it’s done at a relatively low temperature usually. Secondly, poaching in fat as a medium doesn’t dilute flavor nearly as much as poaching in water (although it still does a little bit, and we’ll get to that). And this is of course similar to some of the advantages of cooking inside a vacuum bag. There are many traditional but more recent confit recipes that aren’t really cured, just well seasoned. There’s also a number of sous vide confit recipes that rely on an immersion circulator for temperature control but simply put a small amount of fat inside the cooking bag. That doesn’t really make sense to me unless you’re using the fat to create a better seal with a Ziploc bag instead of a vacuum bag.
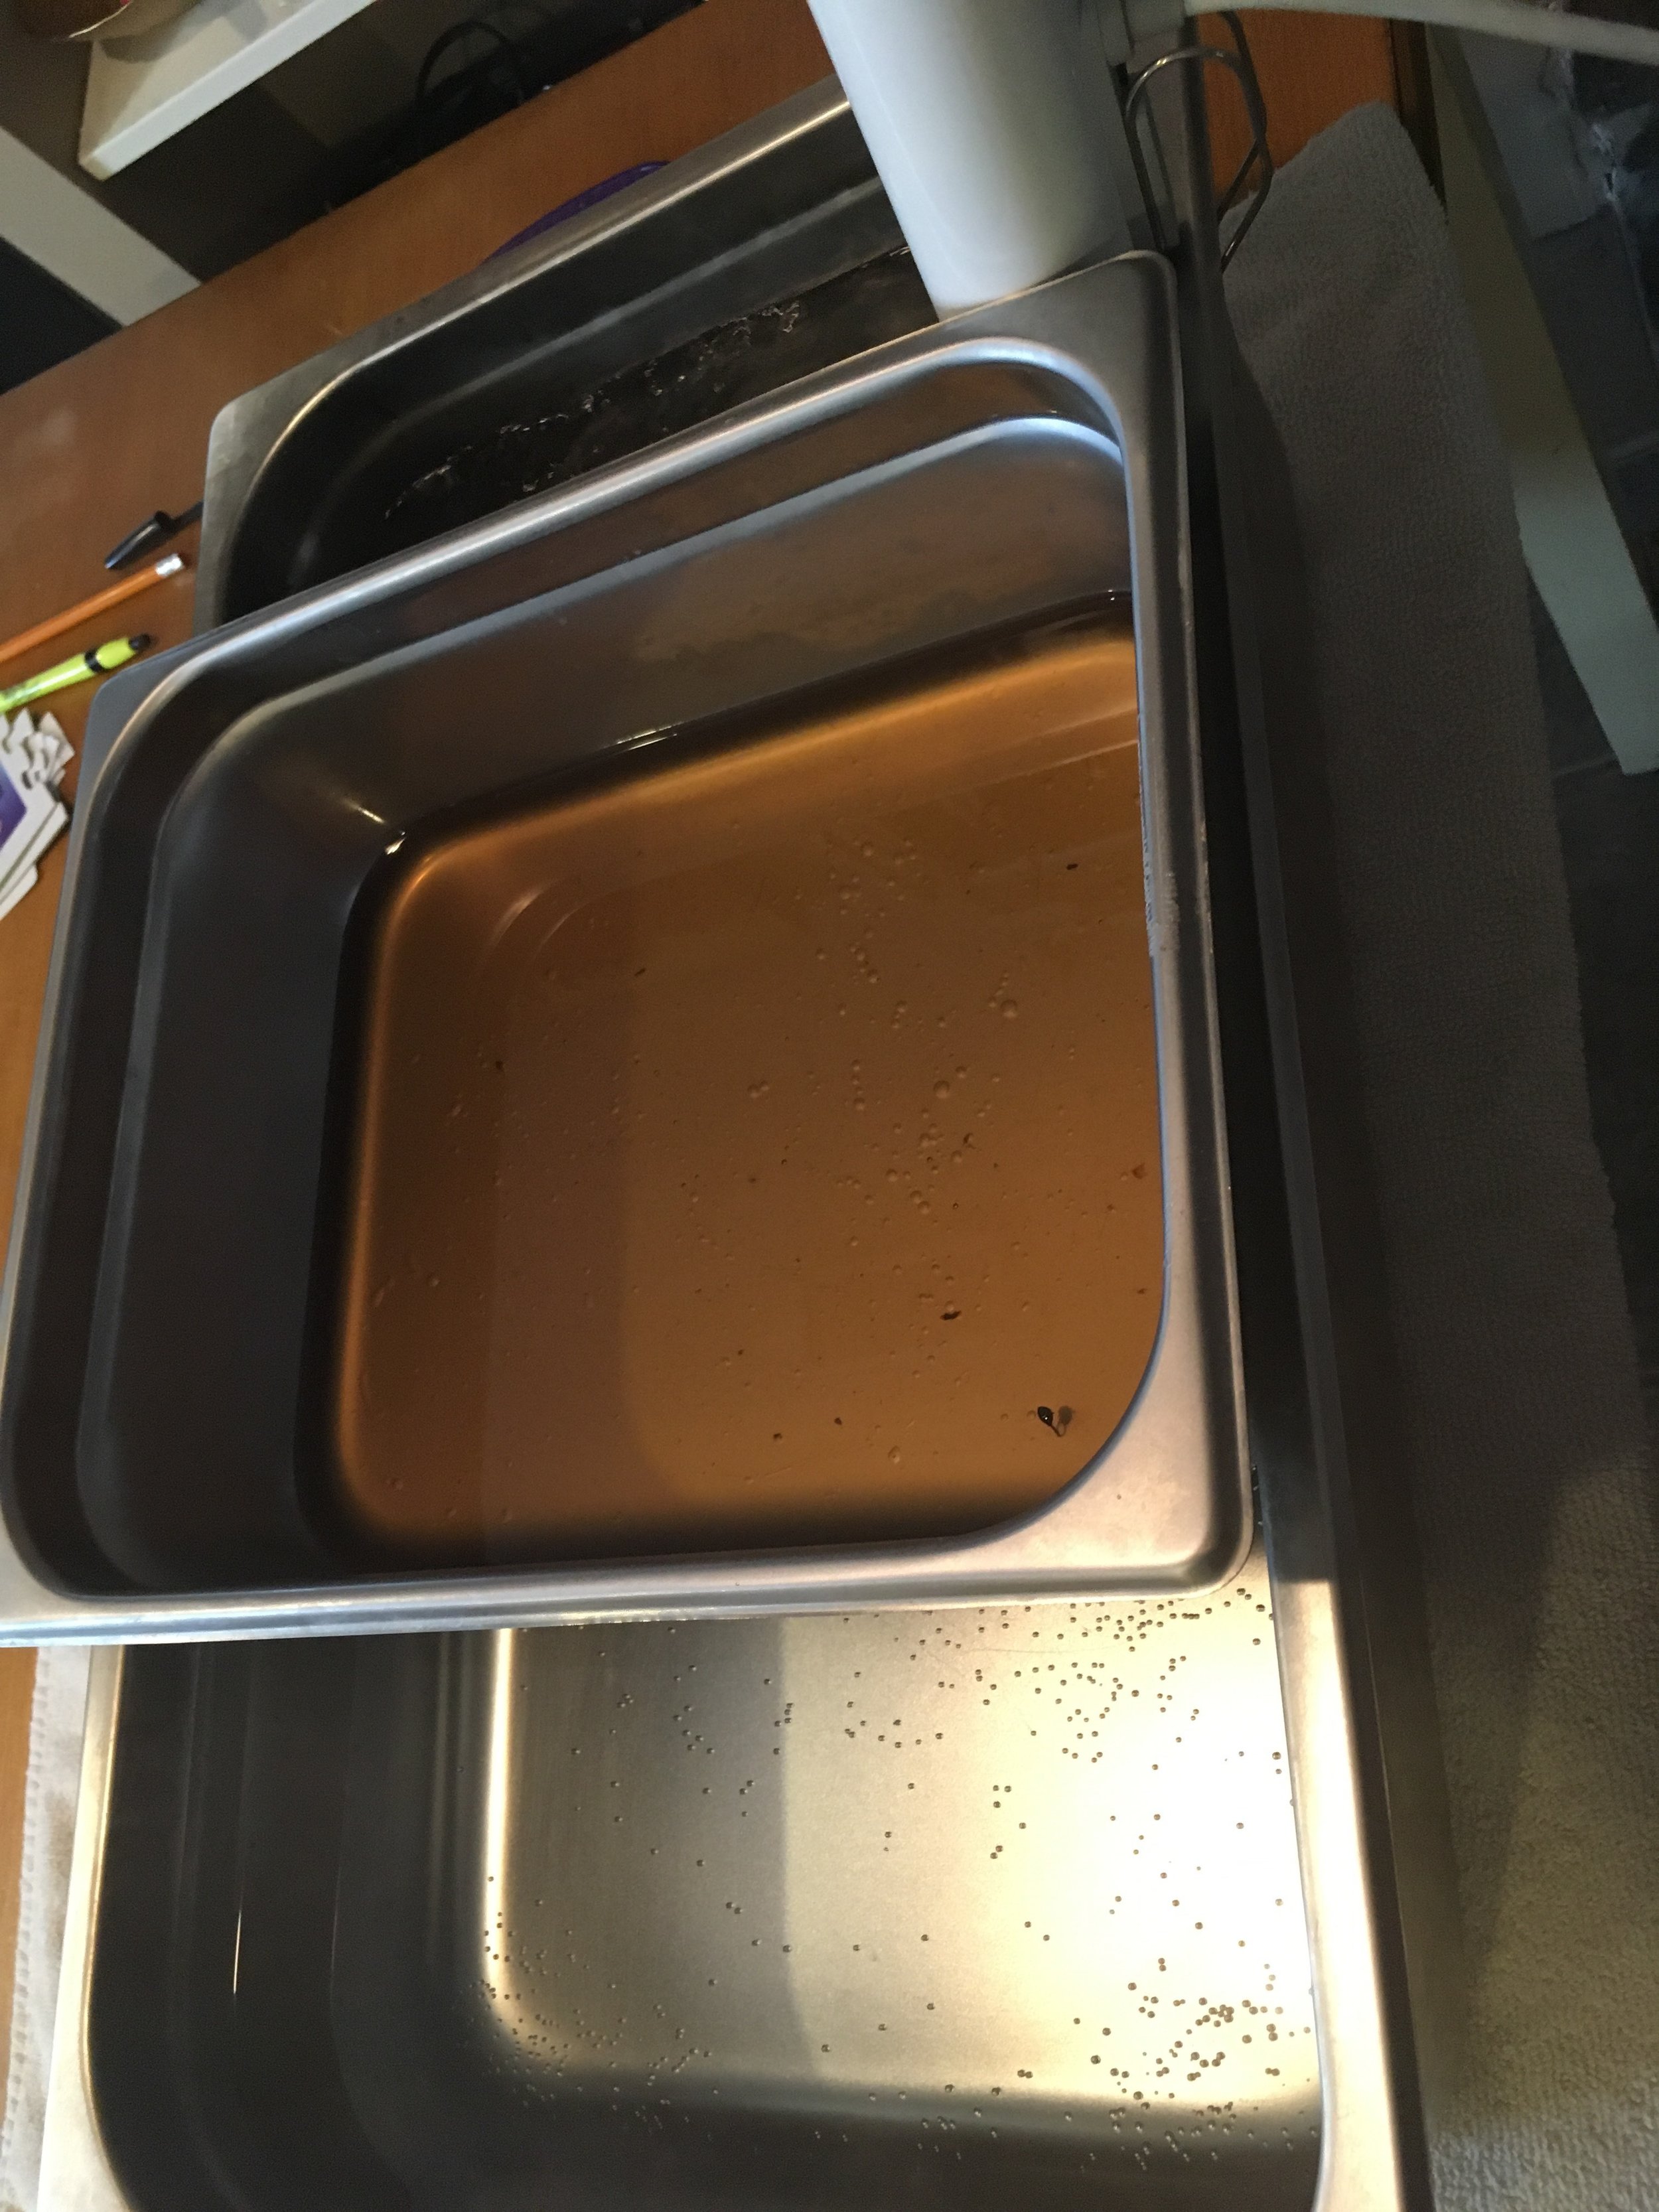
My preferred confit technique is a real hybrid of super traditional technique and modern equipment. I like to do a light cure and use a large amount of fat/oil, relying on my immersion for temperature control. Very fancy restaurant quality circulators can actually work directly inside oil, but any model designed for home use isn’t going to have that kind of functionality. My workaround for this is pretty simple. My circulator is inside a full-size hotel pan/steam table and my oil is in a 4 inch deep, half-size insert. The exact depth isn’t super important but I wouldn’t go much shallower than that. Also, both of my pans are stainless steel. Many sous vide enthusiasts have a large pan or basin that is plastic, which makes sense because it’s a better insulator. However, I do prefer metal for the insert since I actually want thermal conductivity. In testing this recipe I was using the Joule circulator, and I found that the material or liquid inside my insert was pretty consistently 2°C below the water temperature of my circulator. If your setup is significantly different, you should run a test to see what the temperature difference is.
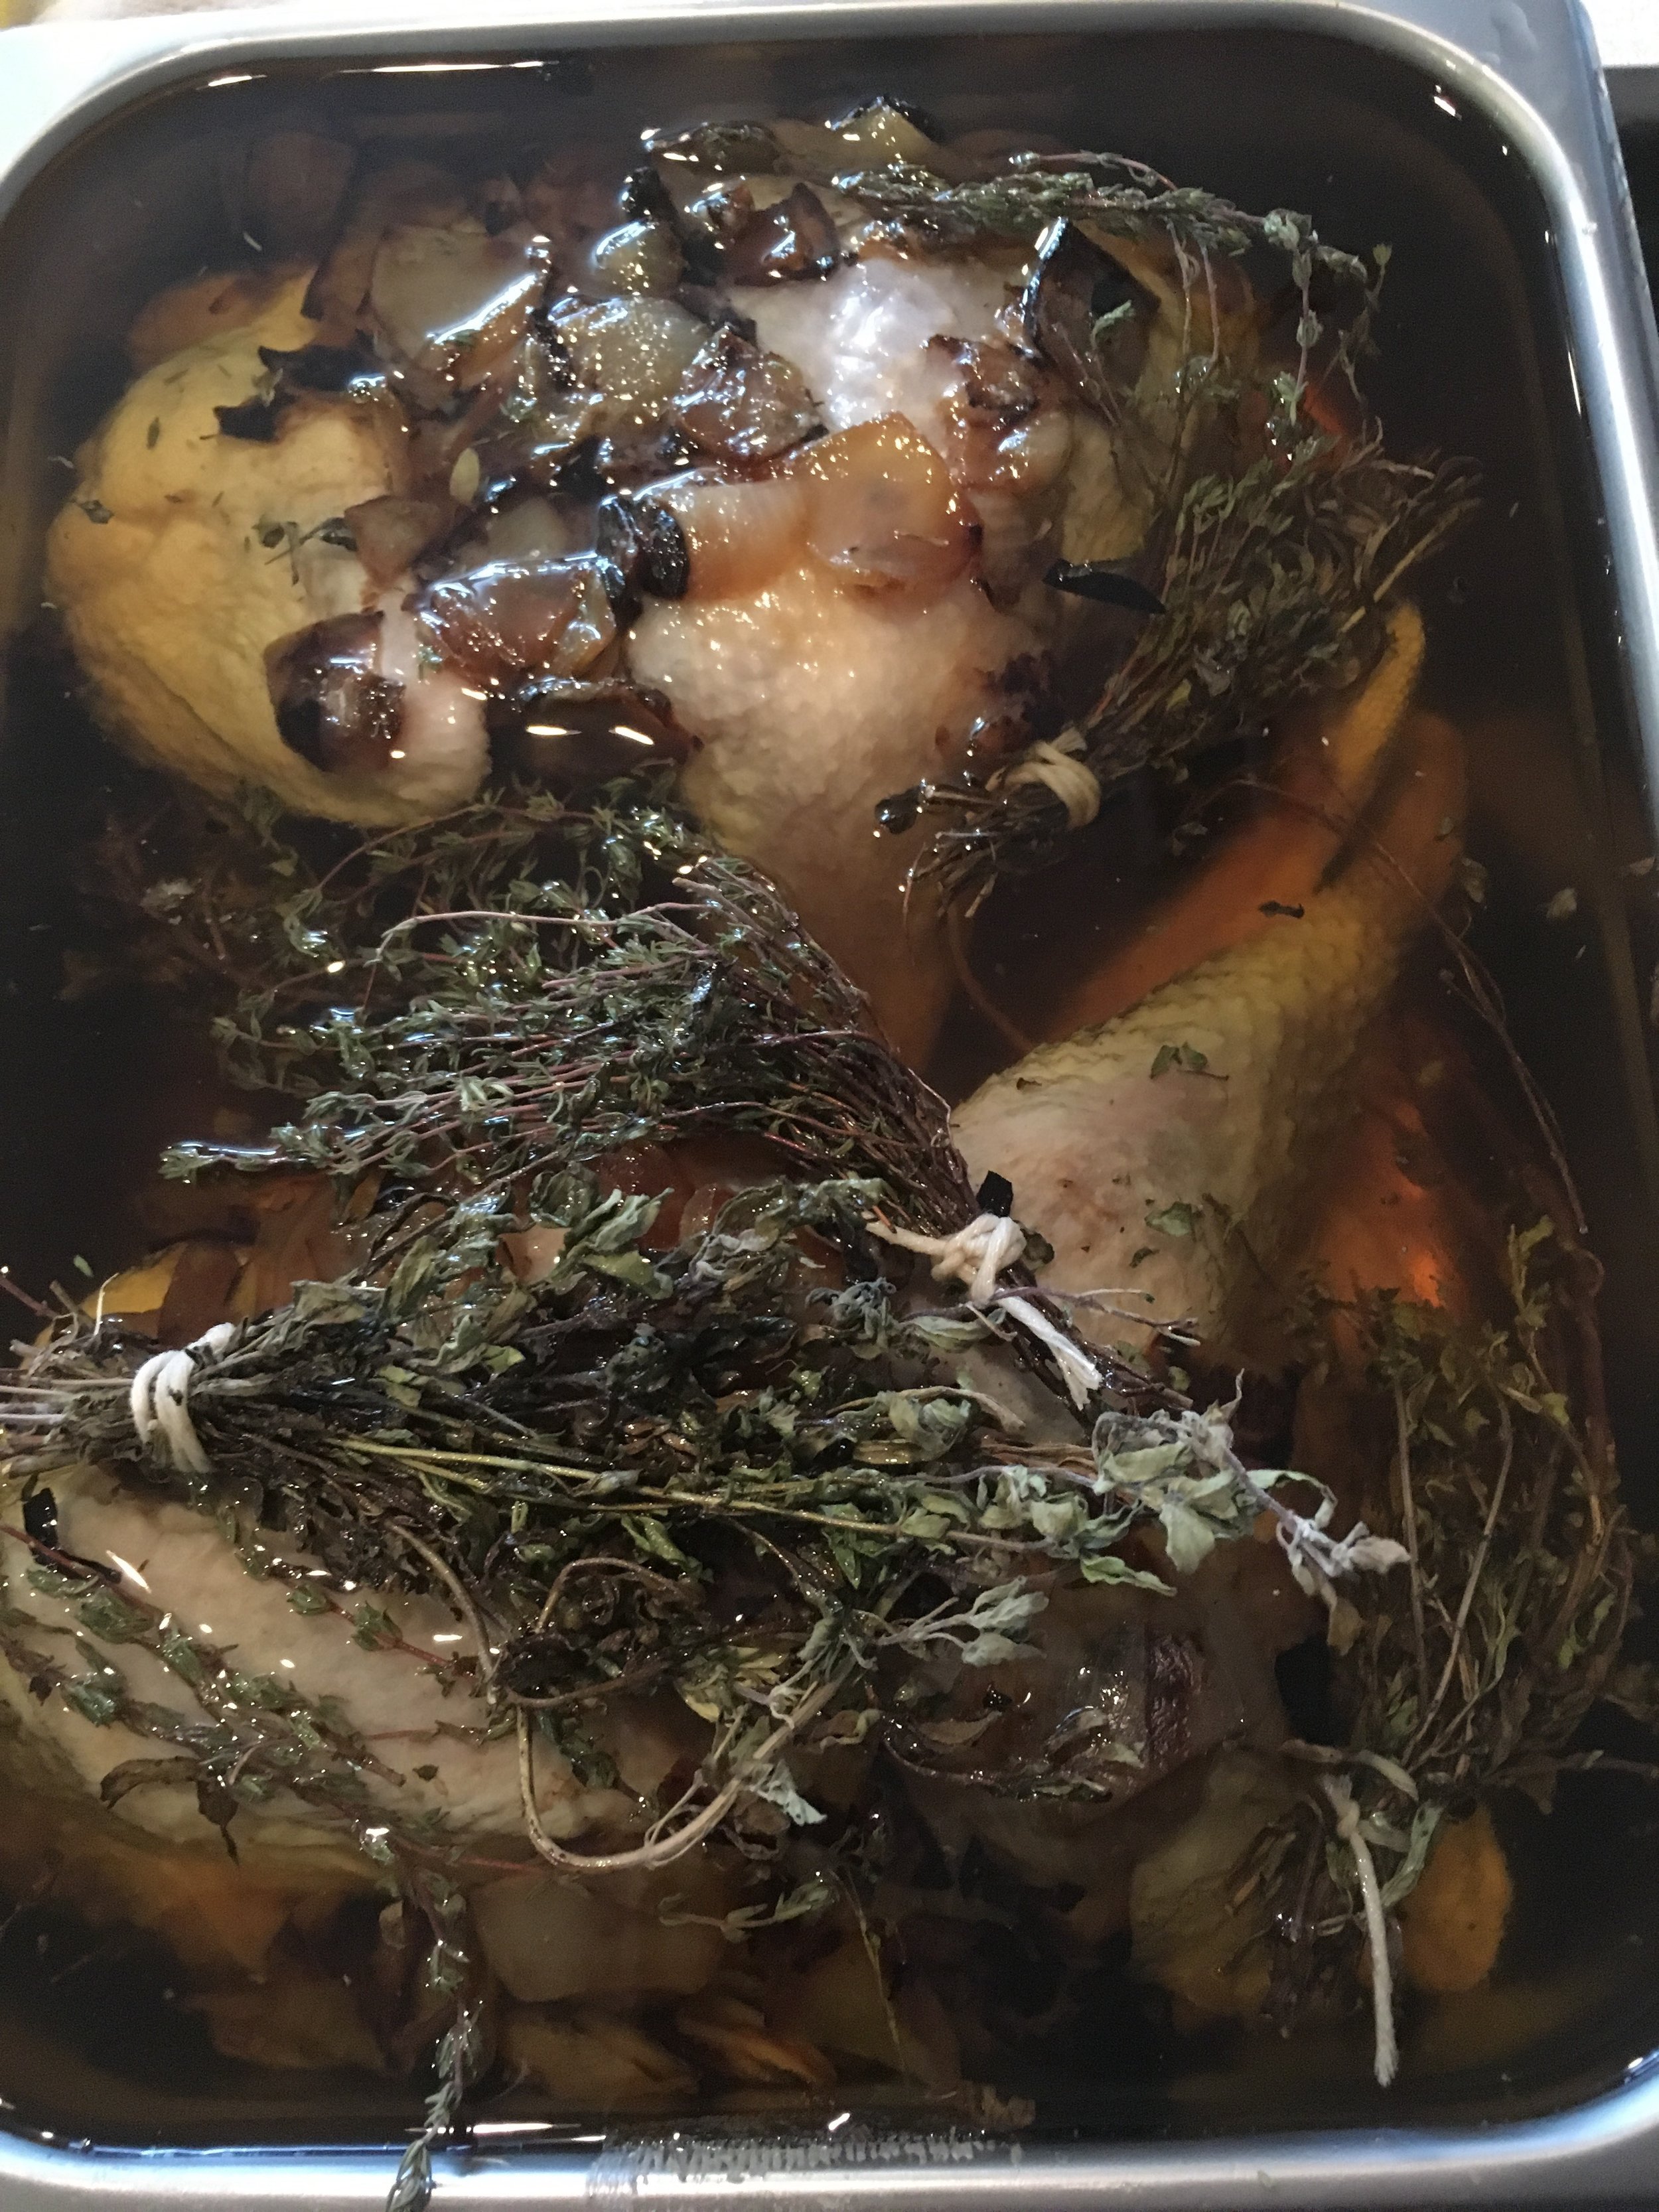
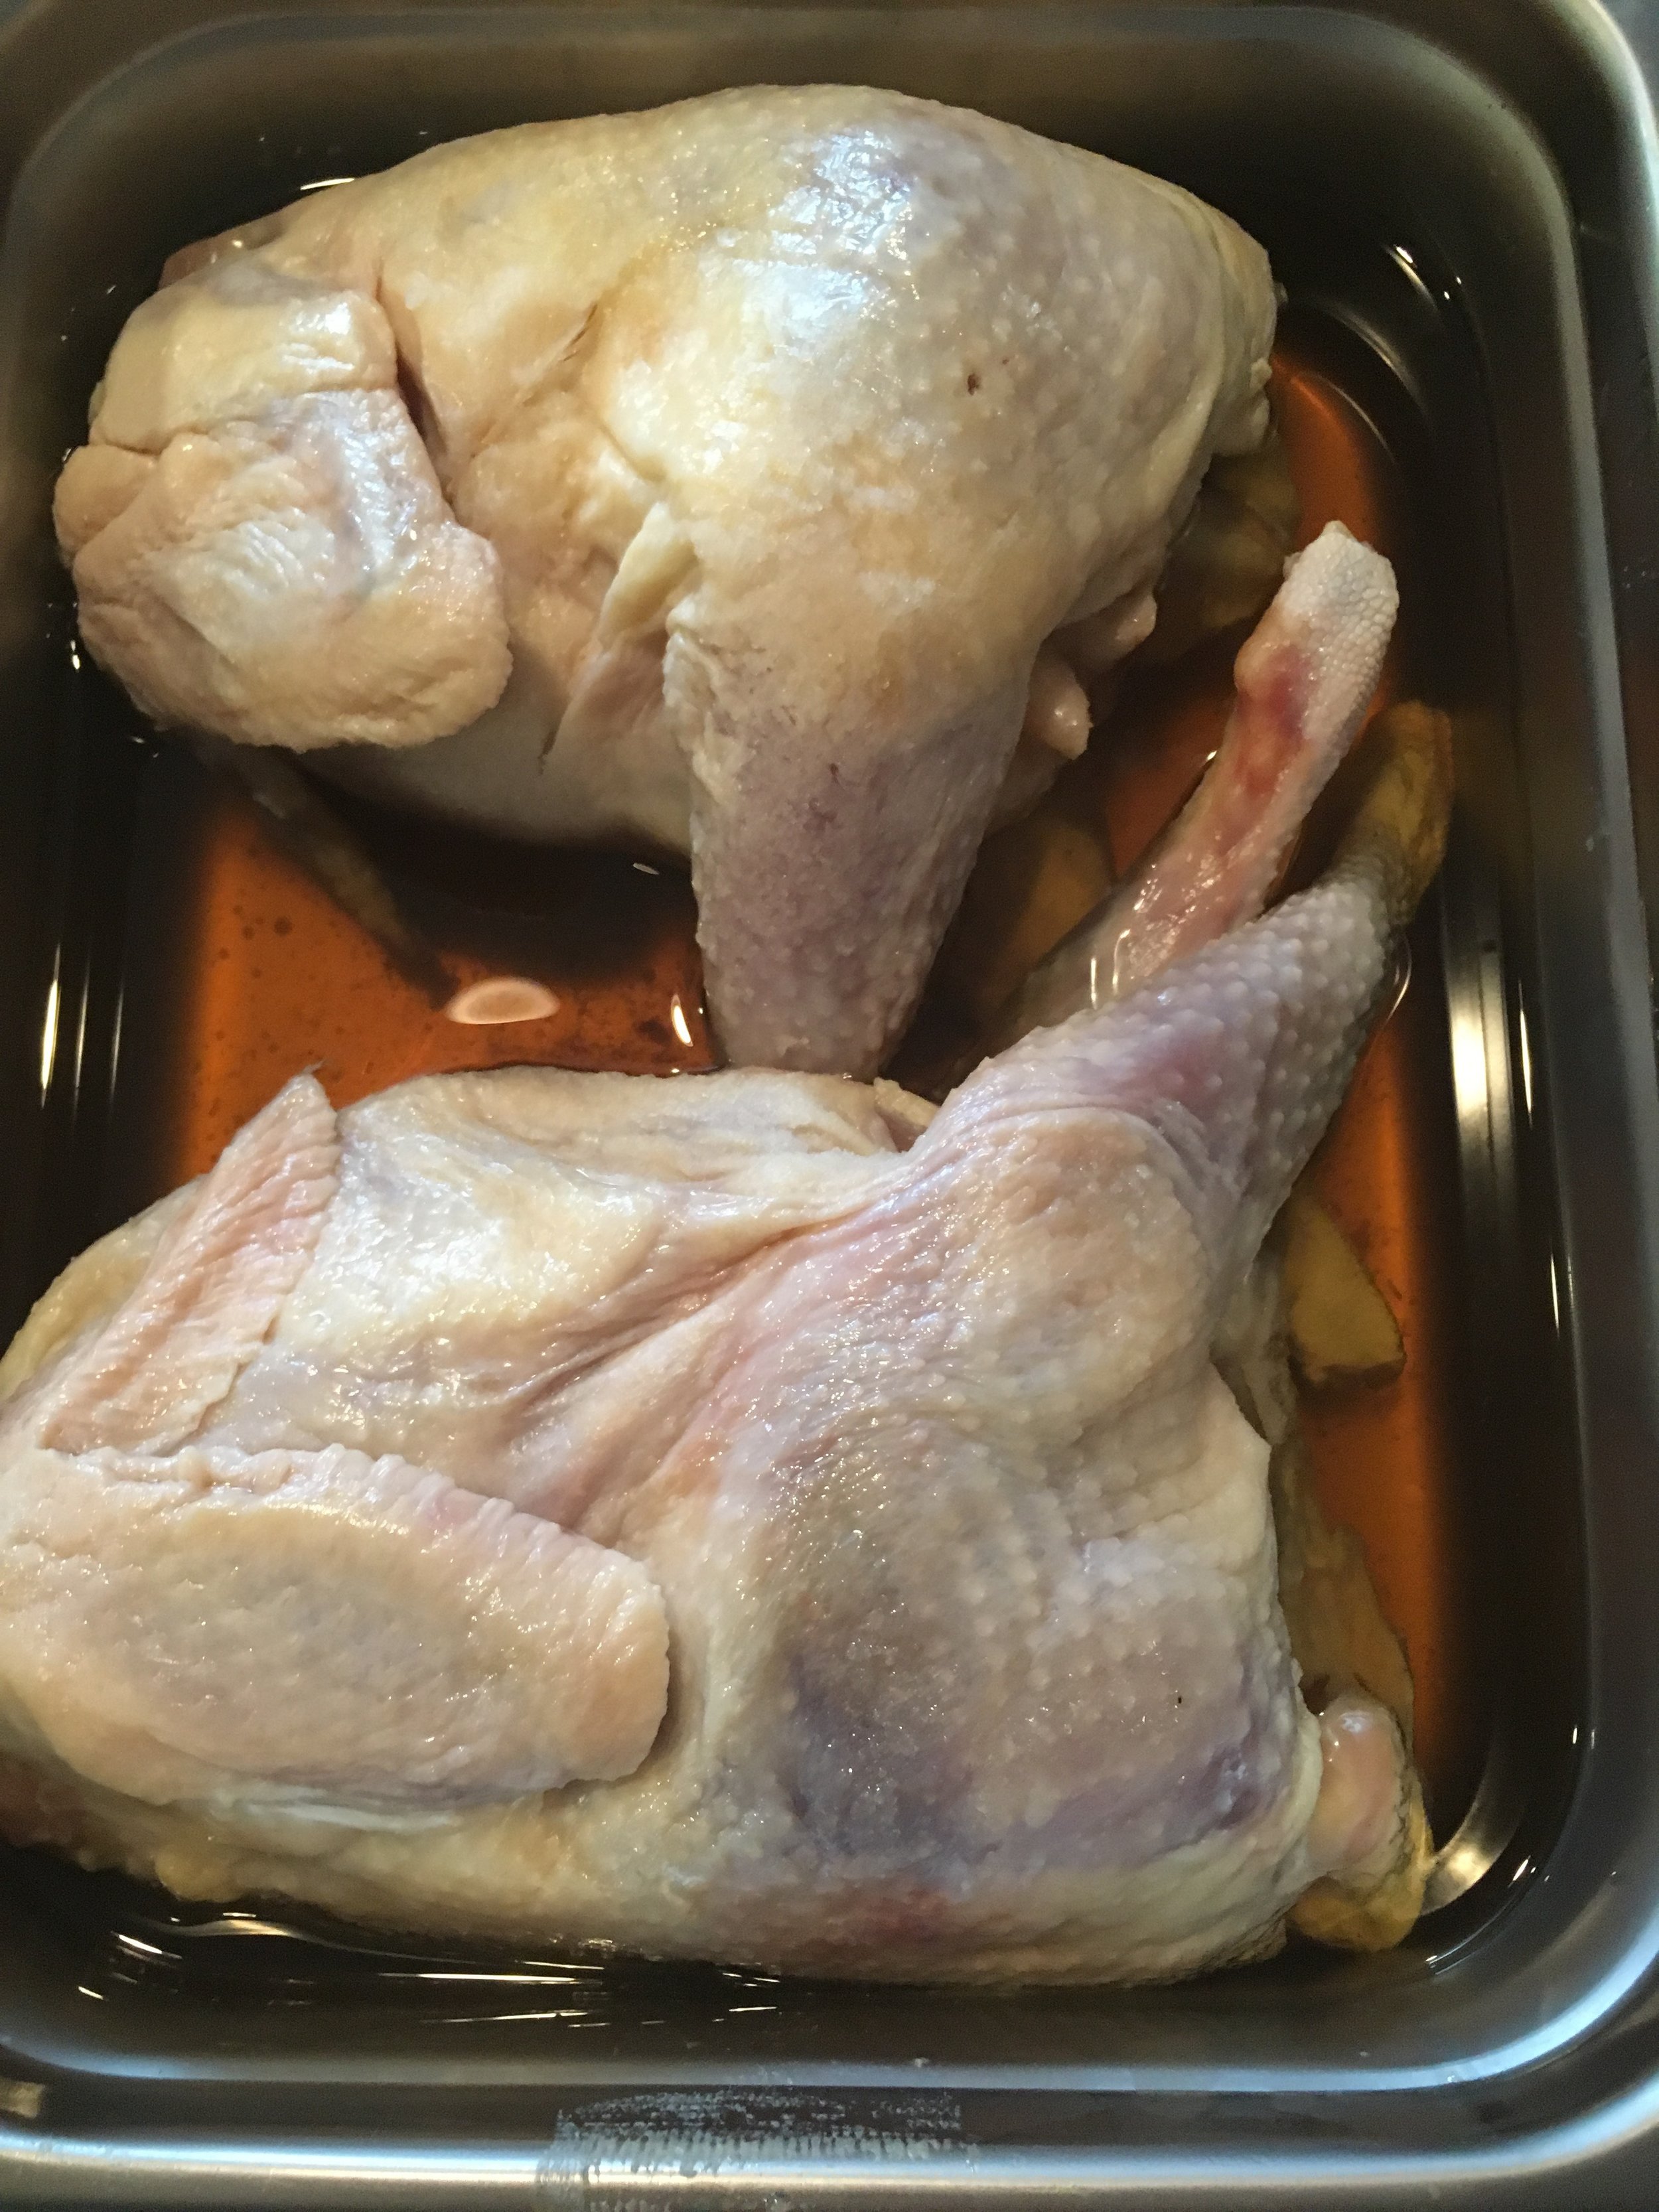
Now this technique can be applied to a wide range of products, but I decided to test it with stewing hen. These are usually very old chickens, and where I live they occasionally go on sale for very cheap. They are generally a bit smaller and significantly tougher than a normal supermarket chicken, but the flavor is really good. Which is why they are perfect for this technique. The day before I cooked the chickens I applied a super basic cure, just 2% salt and 0.2% curing salt (a.k.a.Prague Powder No.1, pink salt, etc.). On cooking day I set up my two pan system and set my circulator to 67°C. Then I put two whole chickens into my insert. I mainly did this for presentation and just to see if I could, but honestly I would recommend breaking down your poultry at least a little. Then the chickens were completely submerged in oil. I was using primarily canola oil because it’s what I had on hand, but with a generous addition of some smoked tallow. If you save bacon fat or other drippings, this is a good use for them. For additional flavor I also added a generous amount of partially dried tarragon and some thoroughly charred onions. It’s important that your product is entirely submerged in oil, and I let the chicken cook for roughly 18 hours but it probably could have gone a full 24.
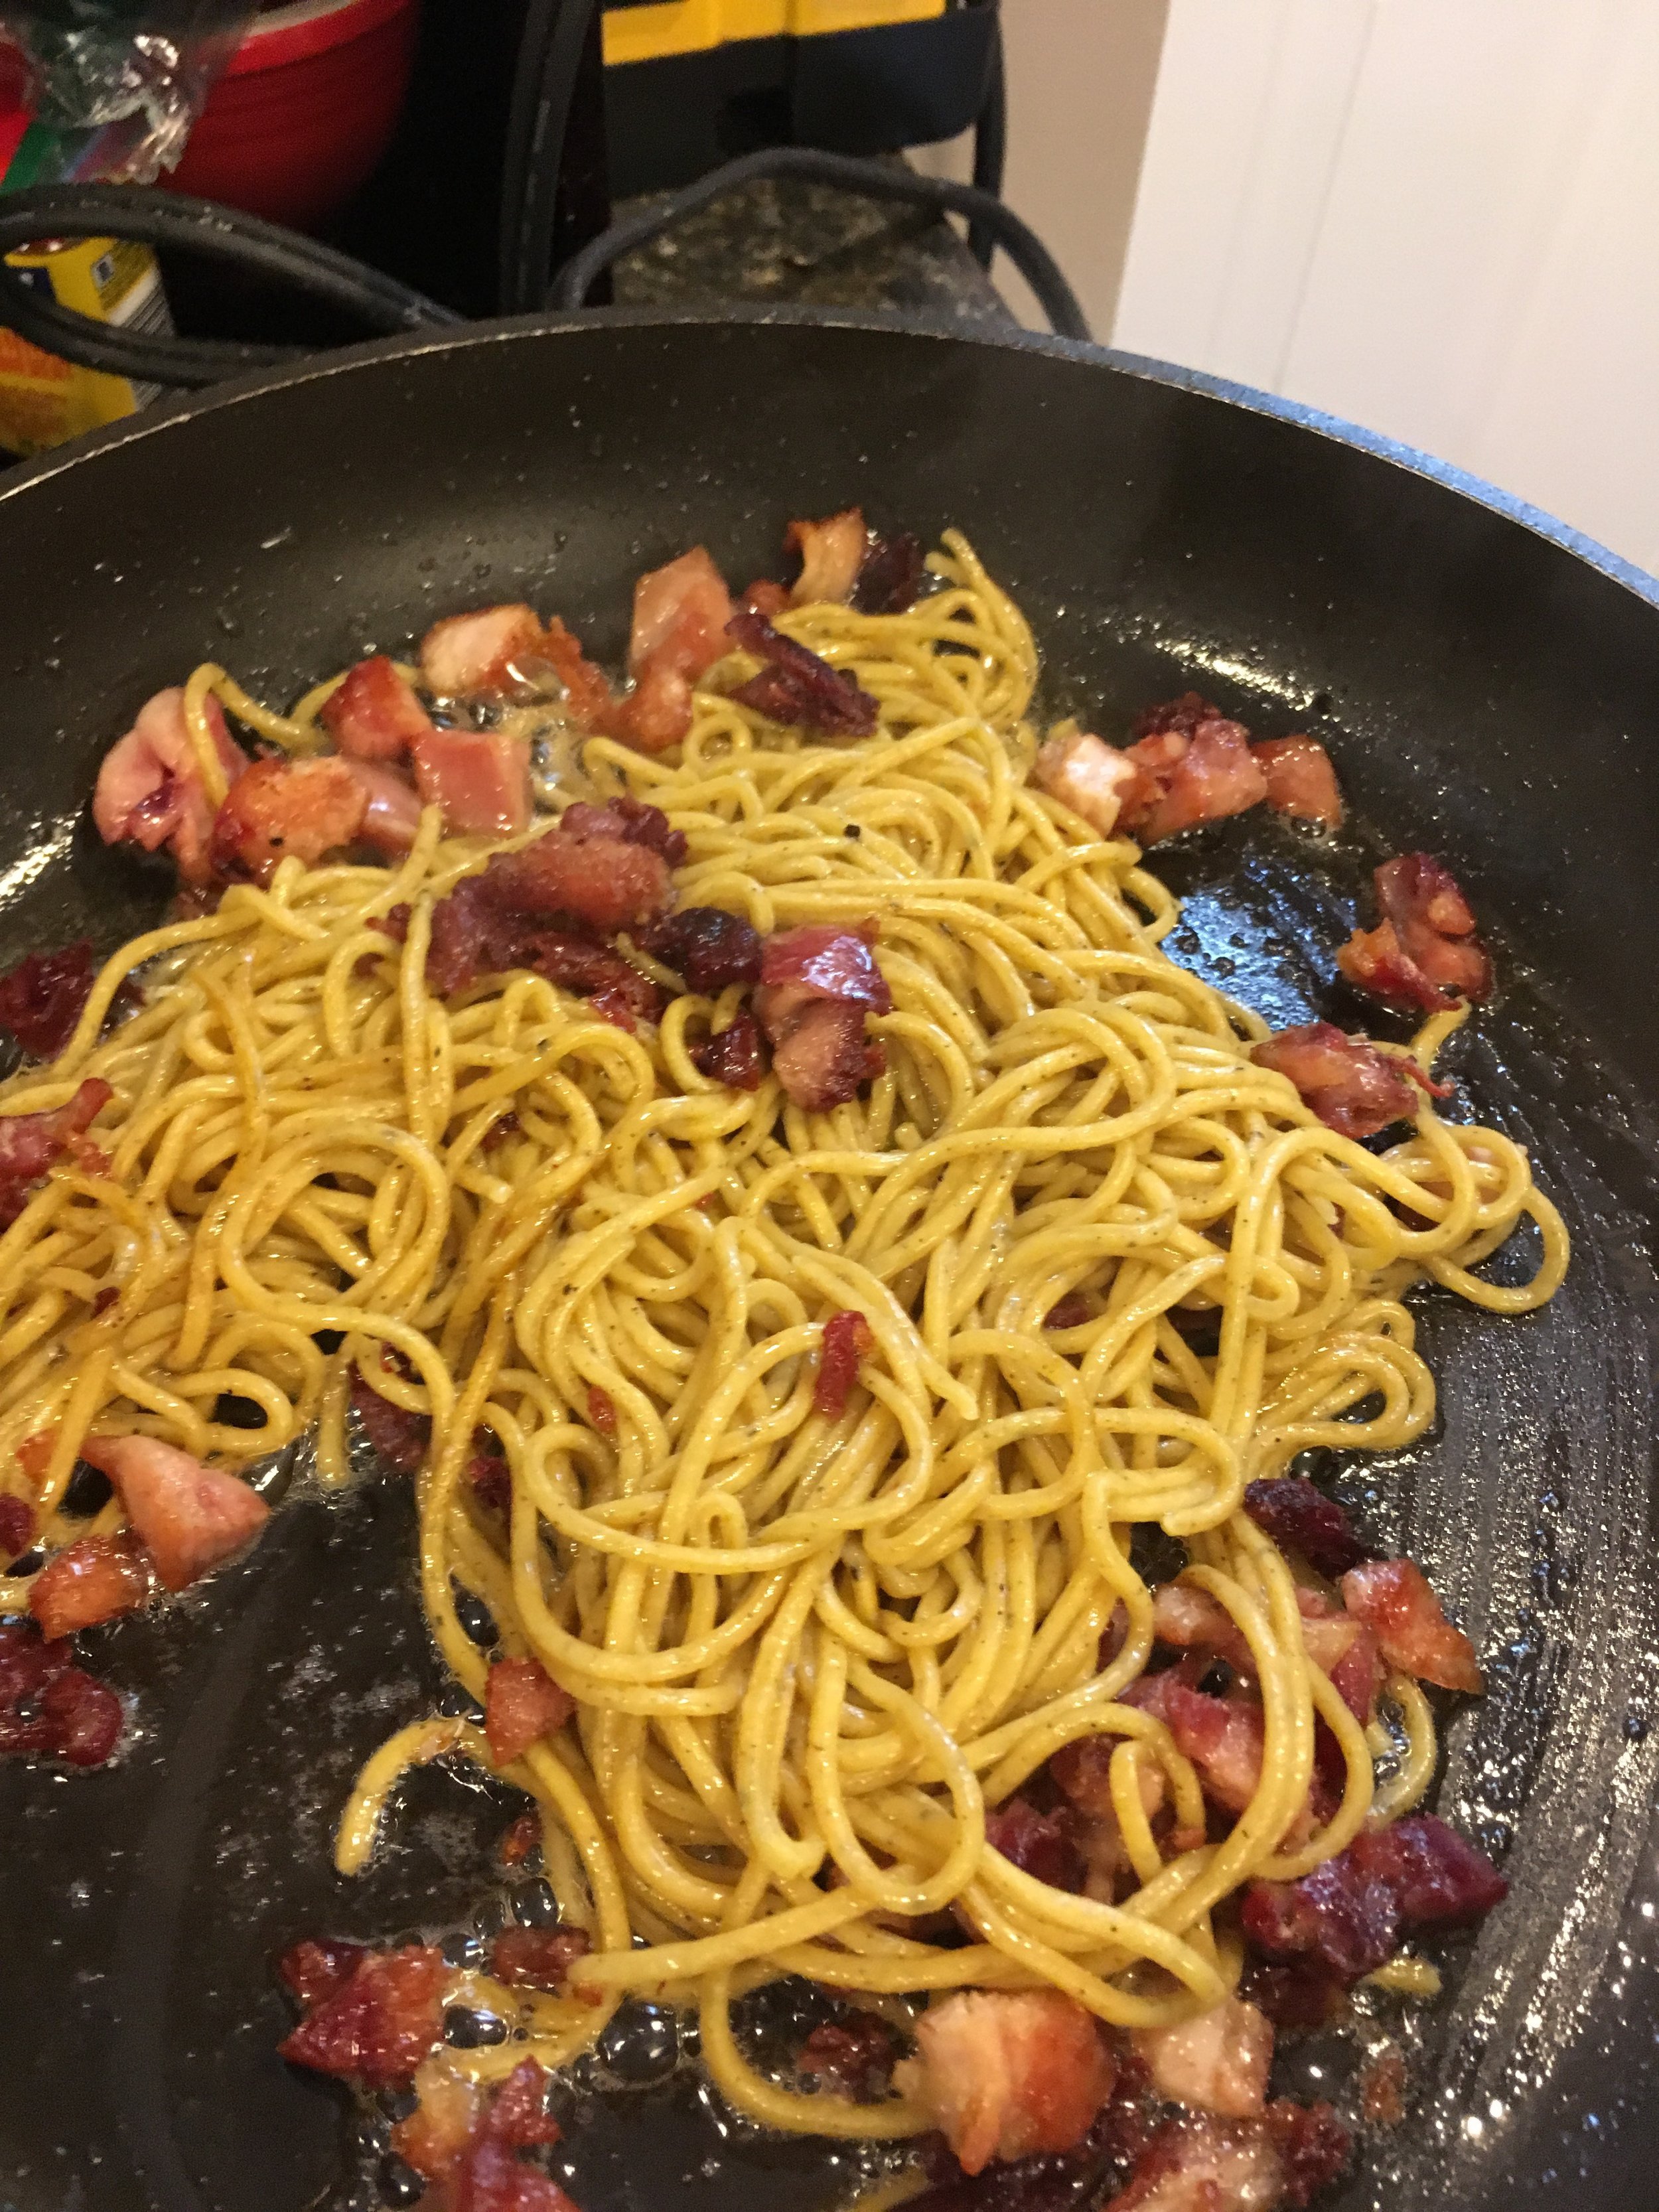
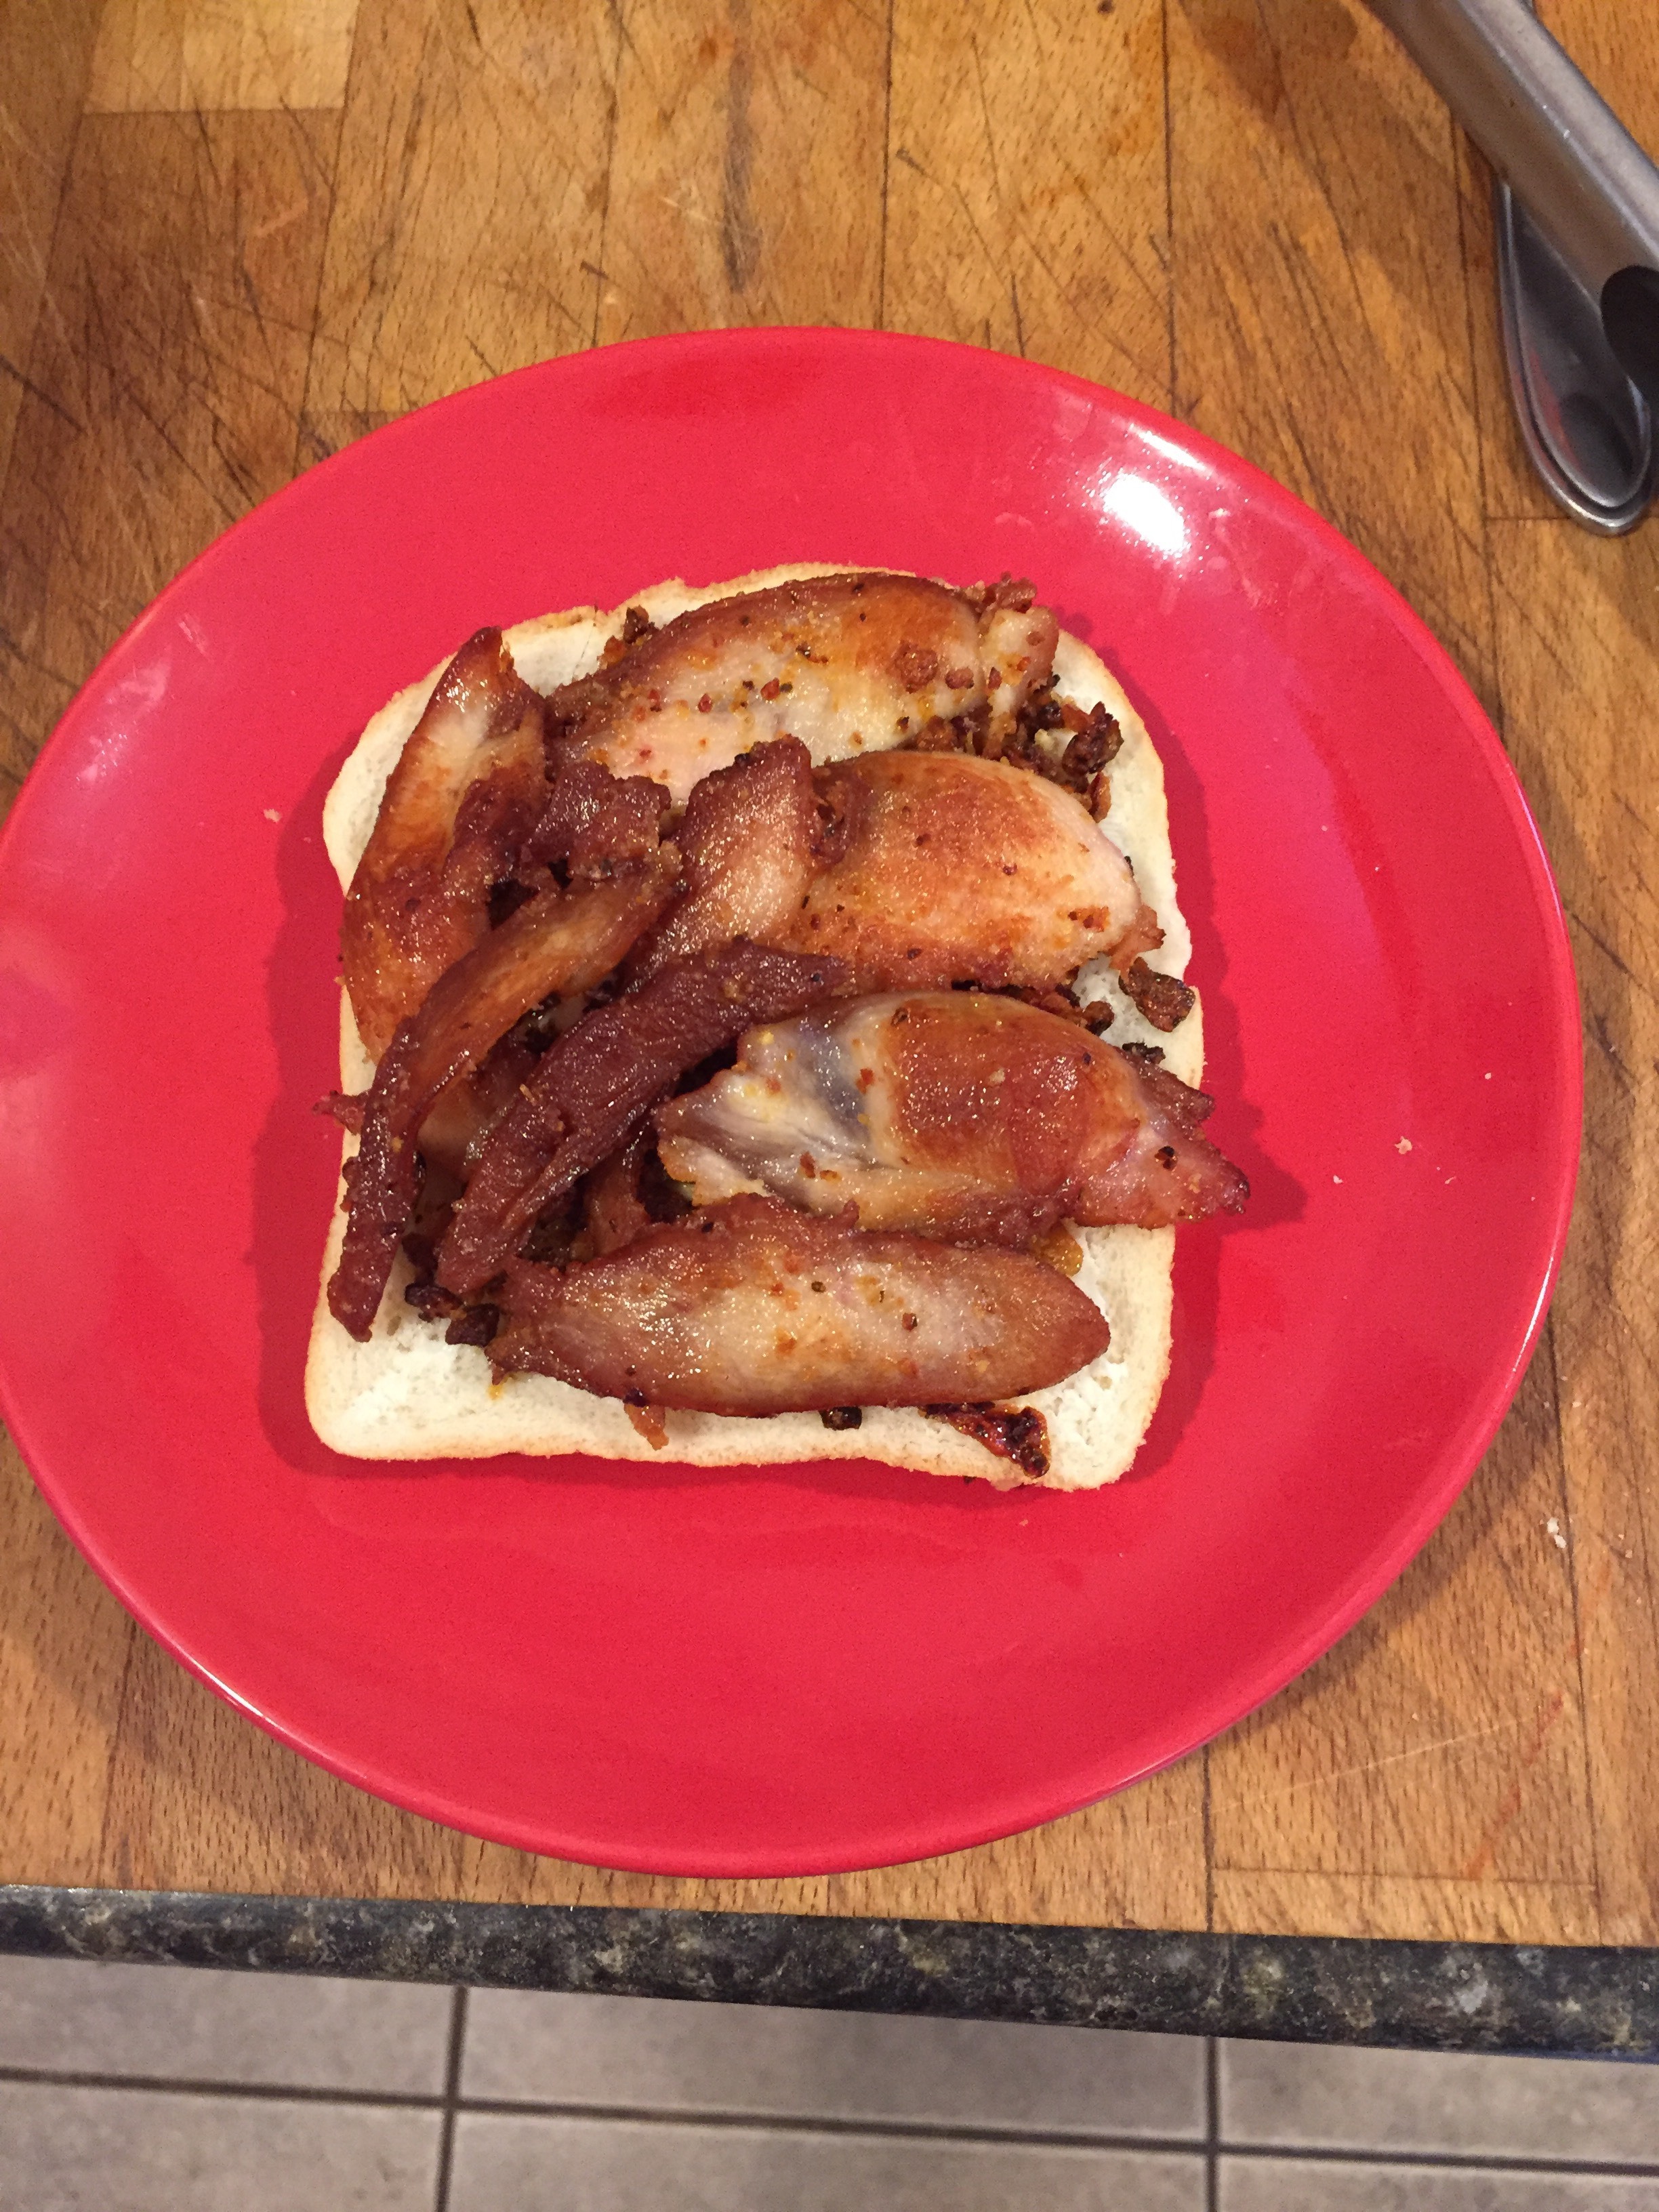
Obviously this cooking time only works for stewing hens because they are incredibly tough. If you are doing any kind of normal chicken I would do 2 hours maximum for white meat, and maybe 3-5 hours for dark meat. In general you can adapt this technique to almost any protein, simply look up a normal sous vide recipe for a guideline on time and temperature (remembering to increase the temperature as necessary for your setup). Overall though the results with chicken are very delicious. It works great as a cured main protein, as a coldcut for sandwiches, even as some crispy charcuterie with pasta. I really like this technique for certain things for two reasons. Certain foods like whole poultry, or anything else with a lot of bones, can be awkward to seal in a vacuum bag. The second reason is flavor. Obviously a vacuum bag theoretically seals in all the juices/flavor, whereas poaching or boiling in water generally extracts a lot of flavor (or causes an exchange of flavor if you are poaching in a flavorful liquid). I think of confit as a nice middleground. Some of the fats and fat-soluble flavors are going to leave your product, but again this can be an exchange. Using flavorful fats and aromatics with many fat-soluble flavors can really build complexity into your final dish. Either way I highly encourage you to try this technique and make sure you save all the fat. I’m going to be reusing the fat from every previous confit to cook the next one. That should build some interesting flavors!


I am excited to explore more of these possibilities going forward.