Bourbon Barrel Marmalade (Orange)

This is my first attempt at what will hopefully be a series of "barrel aged" fruit preserves.

I started with standard jam jar sterilization, but I also had my bourbon barrel pieces to consider. The plan is to age each jar of marmalade with a small piece of barrel. To minimize contamination, the wood pieces were briefly soaked in the nearly boiling sterilization water. The excess water was drained off and they were also soaked in a small amount of 95% AVB Everclear. The wood pieces seemed almost dry by the time they were placed in the jars, but my hope is that any residual alcohol will only help flavorful compounds diffuse out of the wood.

As a second flavor booster, I also made some of the marmalade infused with a dark chocolate flavor. I did this simply by pan toasting a small amounts of cacao nibs and placing them in the bottom of three of the jars. Then it was time to simply make the marmalade. In this case it was three regular oranges and one blood orange, thinly sliced on a mandolin. This totaled 635g of orange which was simmered in water for 45-50 minutes, before roughly double it's mass in sugar was added. Once everything was combined the mixture was brought just to 105°C and then portioned as quickly as possible. Each jar was filled about half way before a piece of bourbon barrel was placed in the jar using sterilized tongs. All the jars were then topped up, sealed, and boiled together for 10 minutes. Overall this was the perfect amount for six 250ml jars, with only a small amount of primarily syrup leftover. The consistency is a bit on the thin side but I think this might be ideal for actually allowing the flavor compounds of the wood to diffuse. I plan to let the jars age for at least two months before trying one and seeing what effect there is.

Korean Yuzu Mead - Started

My first rain water mead!

  • 1kg Korean Honey-Yuzu Marmalade (Some added sugar unfortunately)
  • 600g Canadian Alfalfa Clover Honey 
  • 3L Processed Rain Water 
  • Baker's Yeast

My IG was 1.110 at 24.5 C. I plan to filter out the marmalade chunks in secondary, and add some fresh lemon and ginger.


Jos Louis Ice Cream

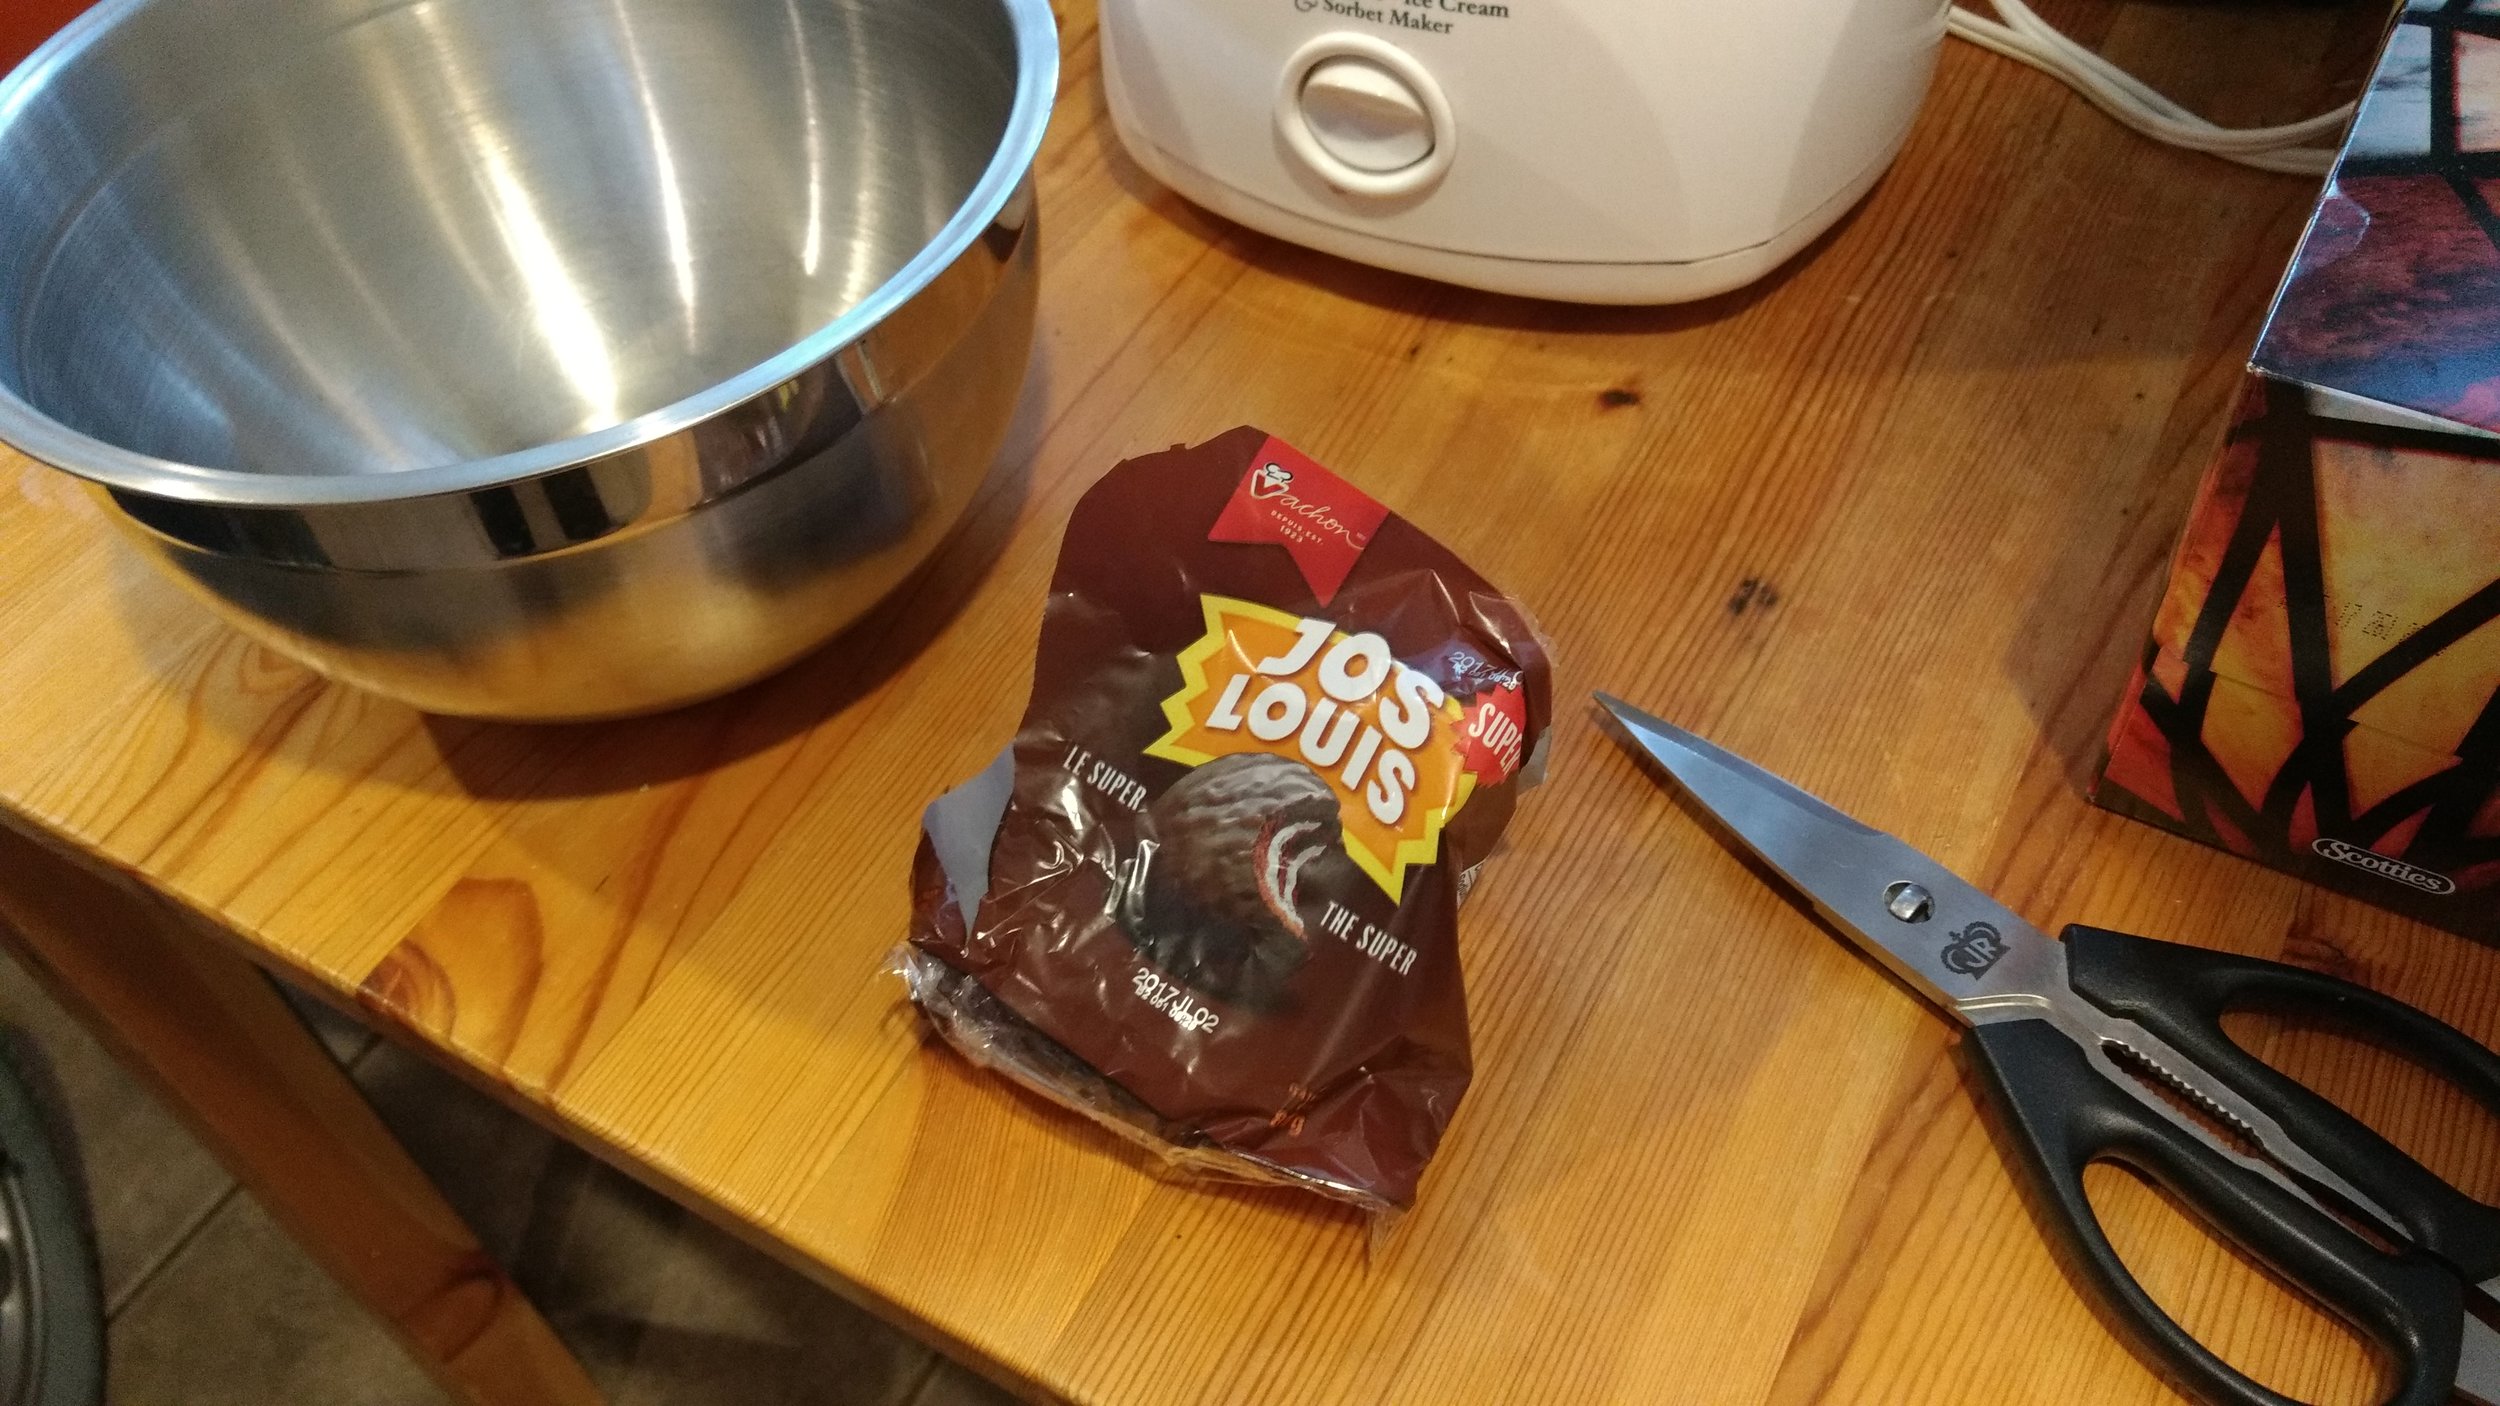
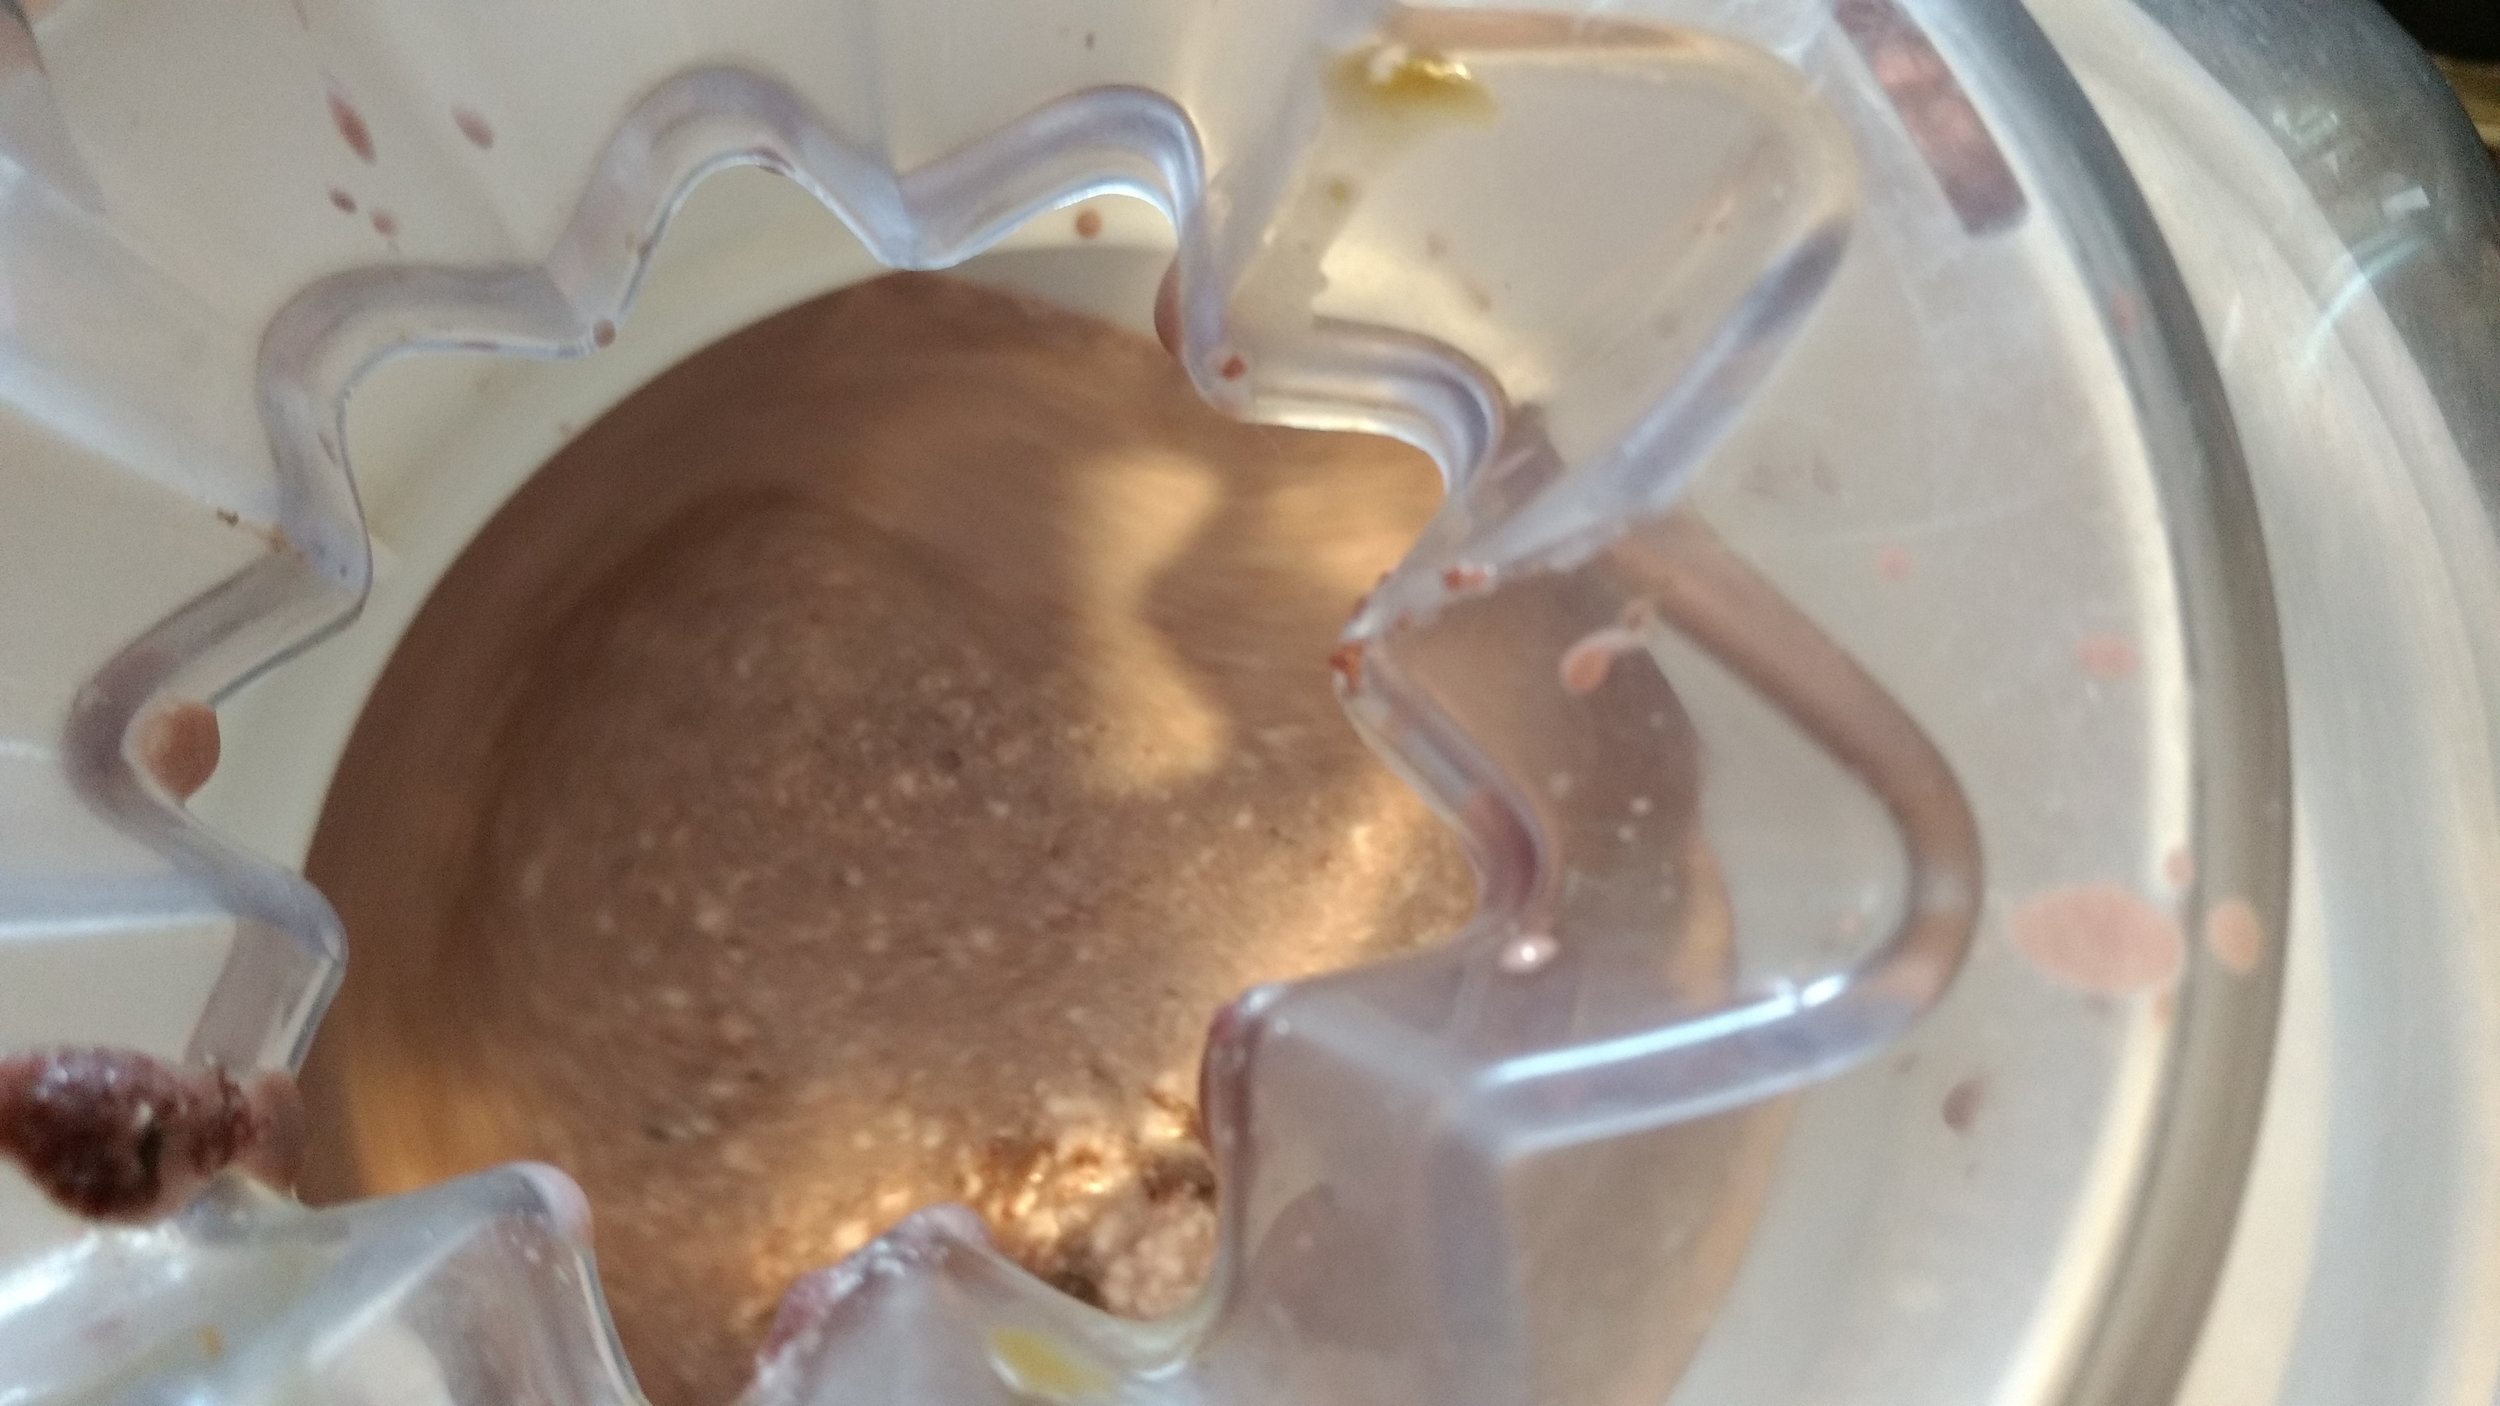
I'm hoping to do a few ice cream flavors in the near future centered around snack cakes. This was definitely a good first attempt but could still use some refinement. I started by making a fairly standard ice cream base. Unless I'm going for a custard like flavor, I tend not to use eggs. This was 1 L of table/coffee cream (17% butterfat) brought to just under a simmer, before pouring it over a half cup of corn syrup and a full cup of white sugar. Since this is an experimental recipe I was tasting and adjusting as I went, I did my best to record measurements but some of the units and measurements are a bit inconsistence. For example, I added probably 3 to 4 tablespoons of Dutch processed cocoa powder to achieve a desired pale chocolate color and flavor. Although next time I actually would have preferred regular cocoa powder for a more brick red color.

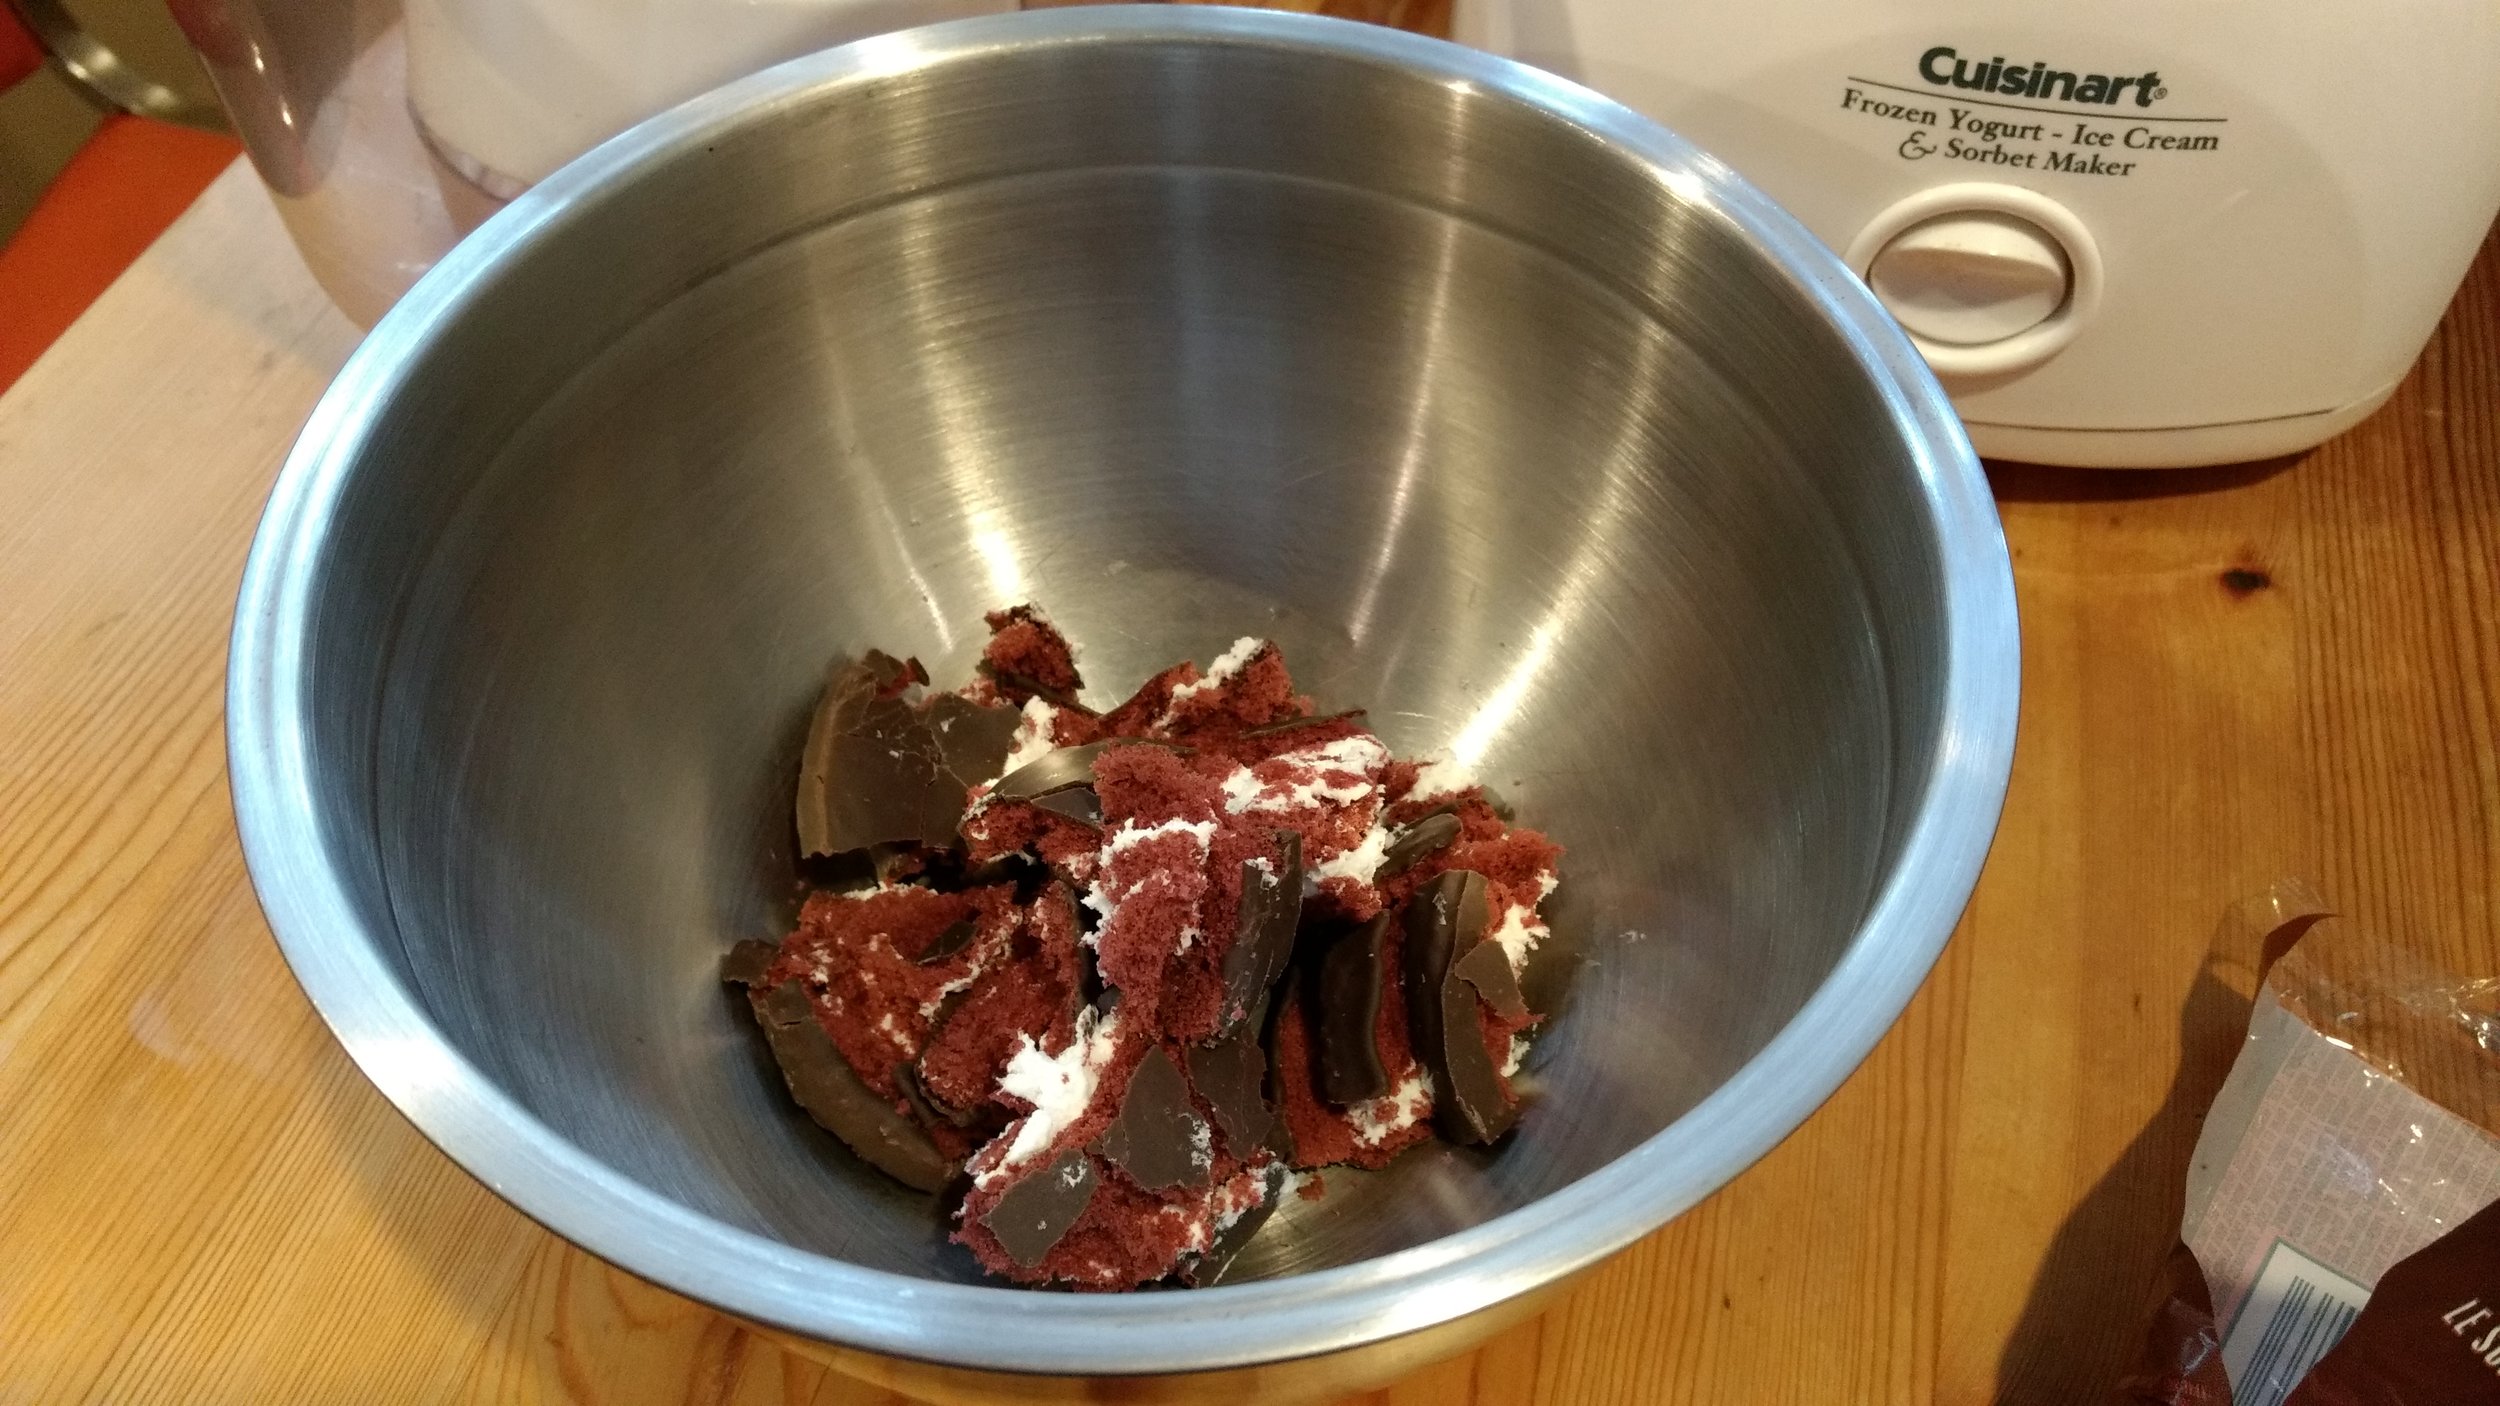
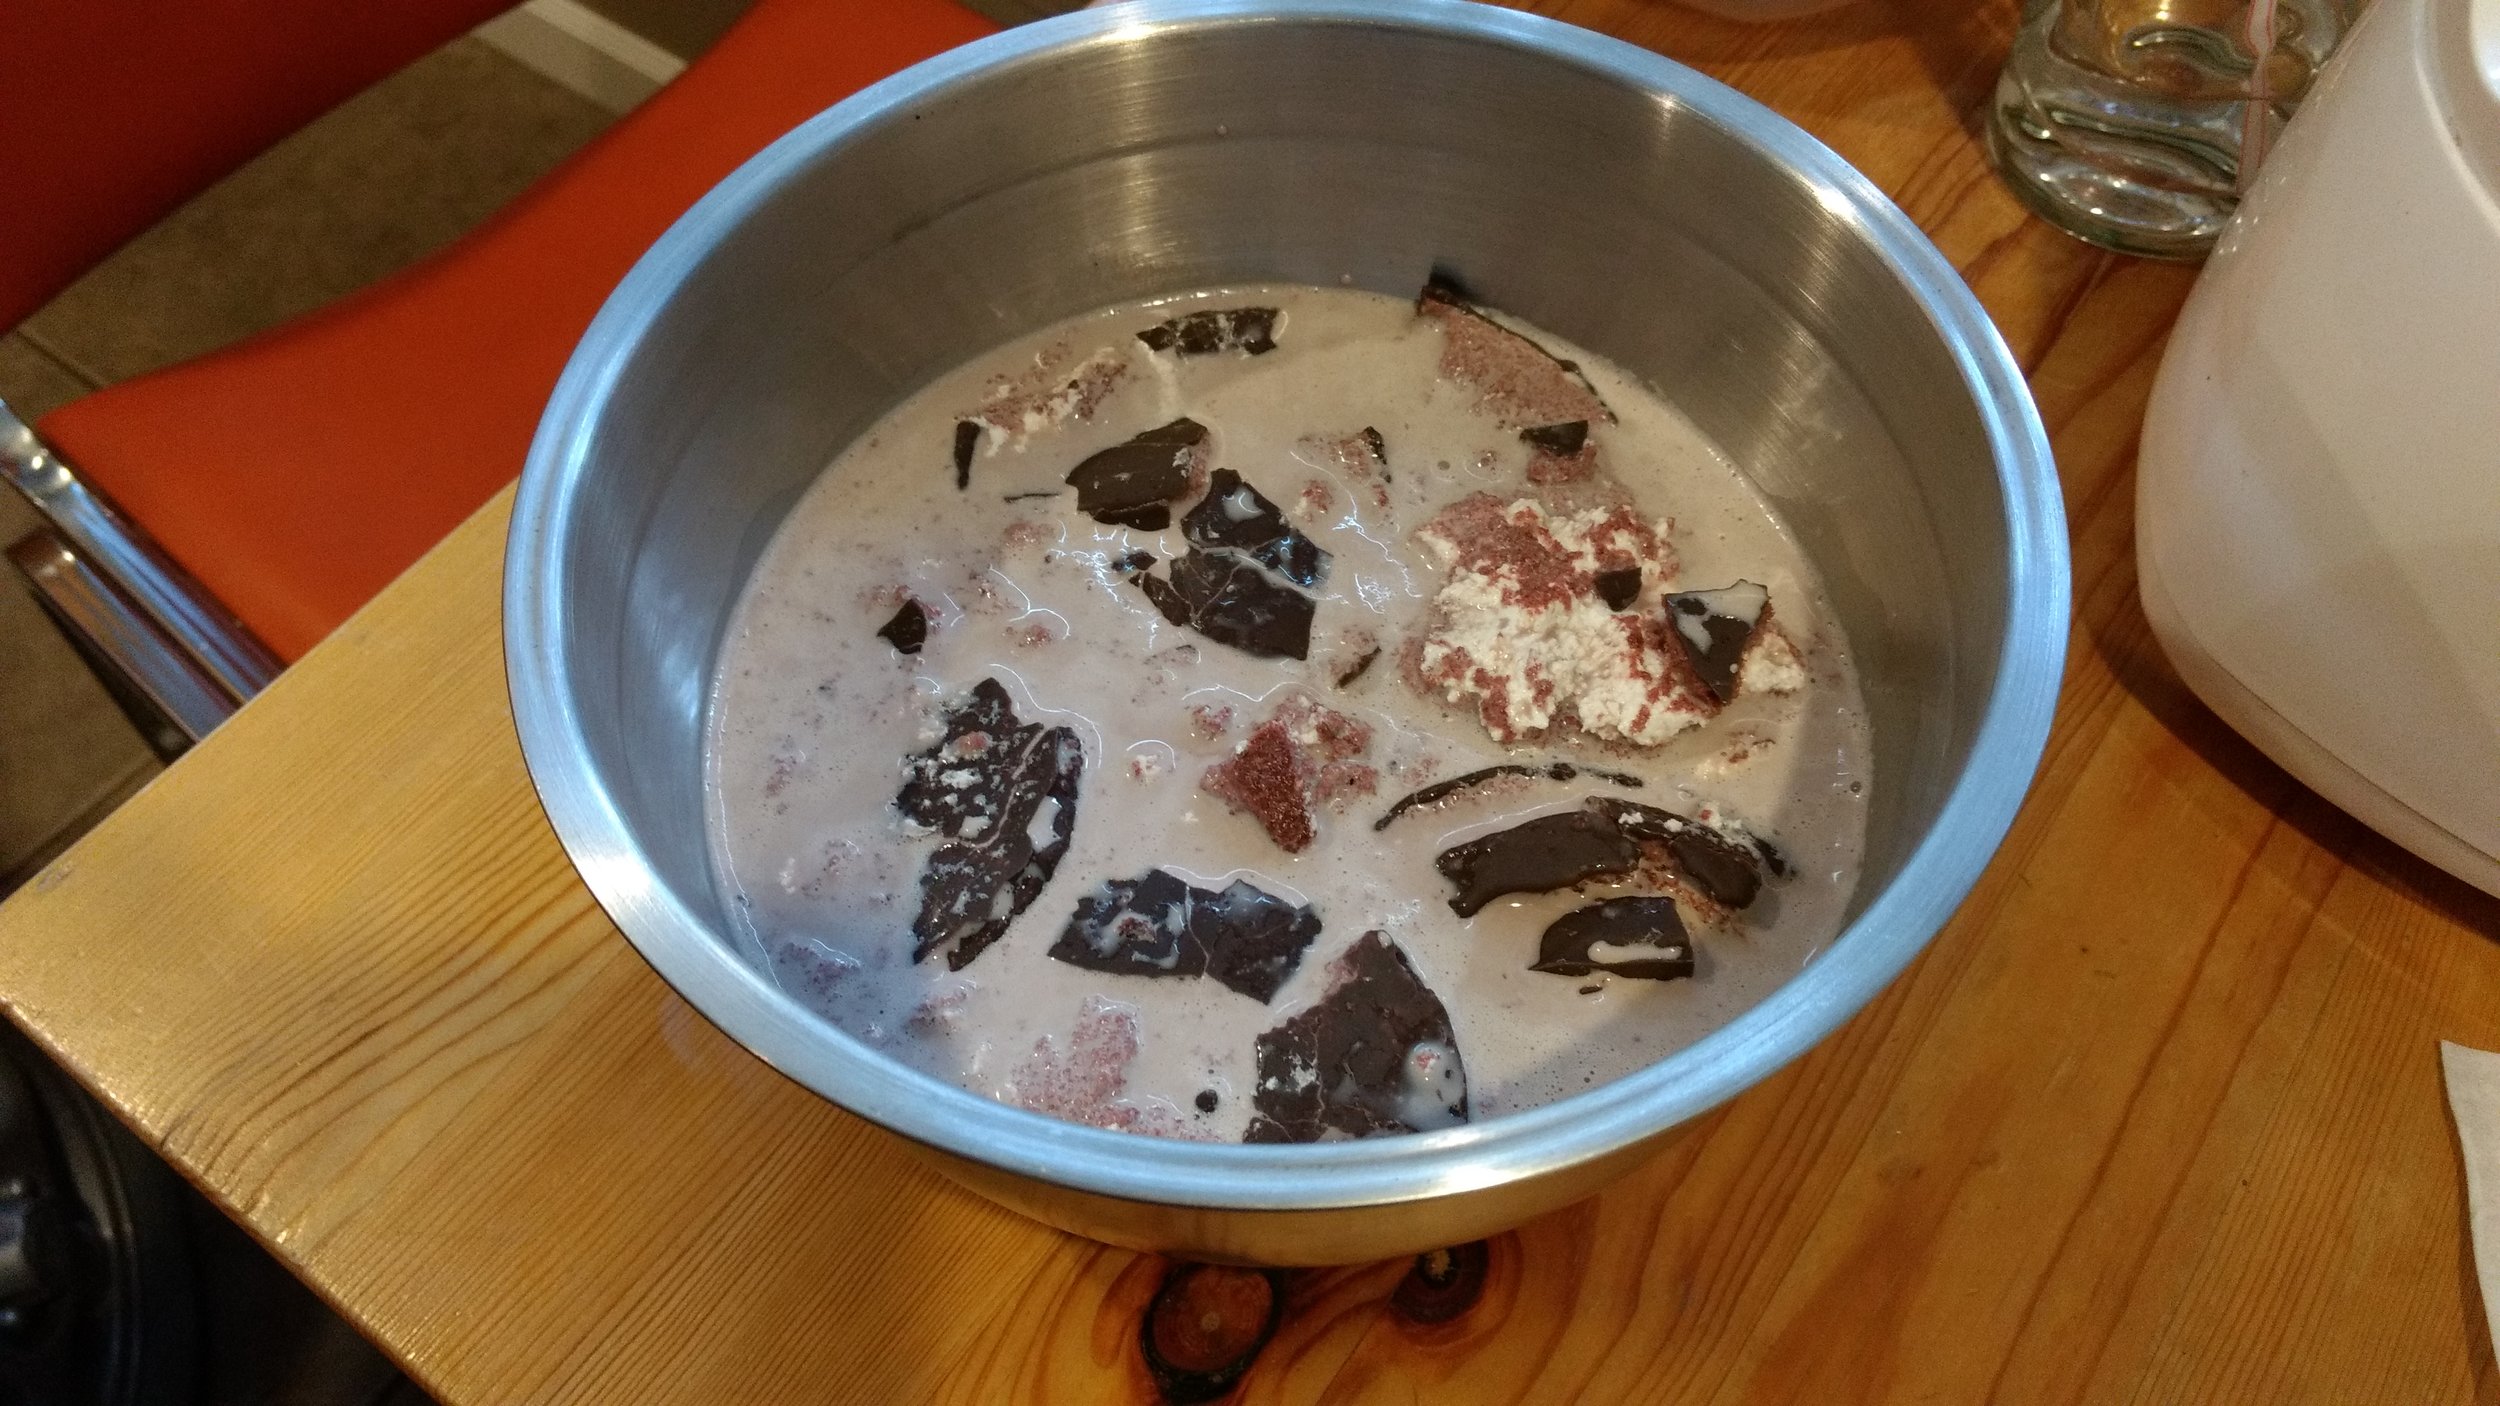
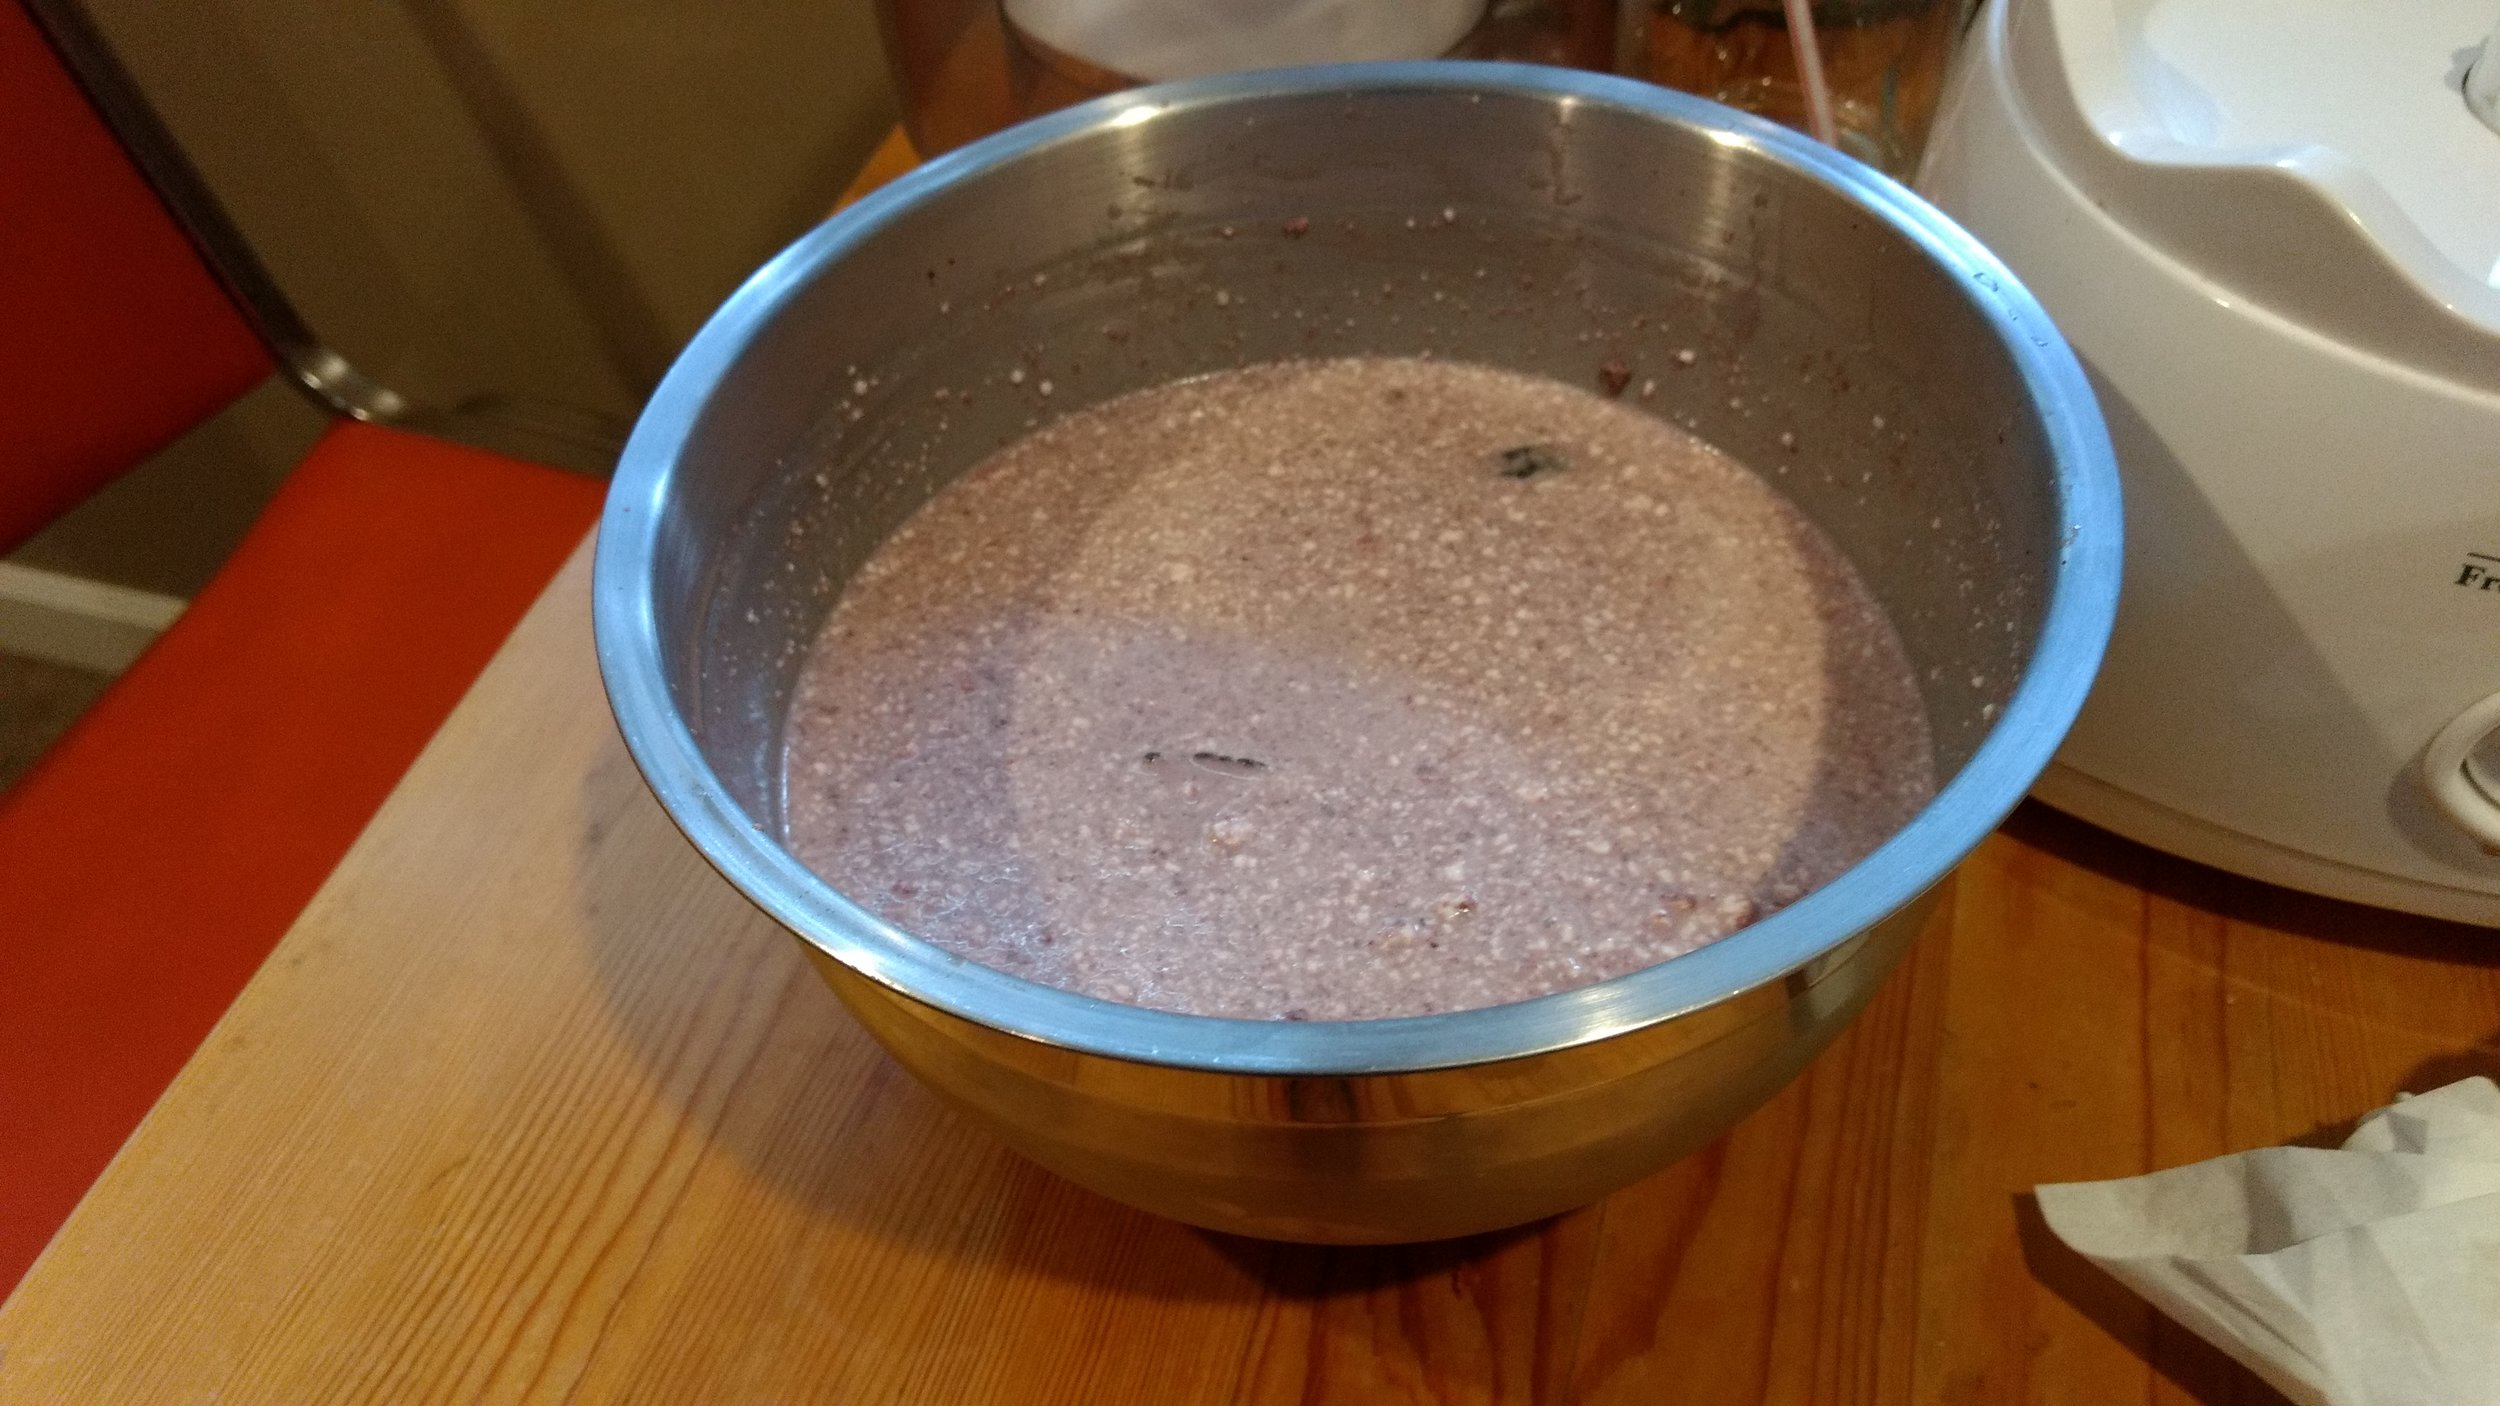
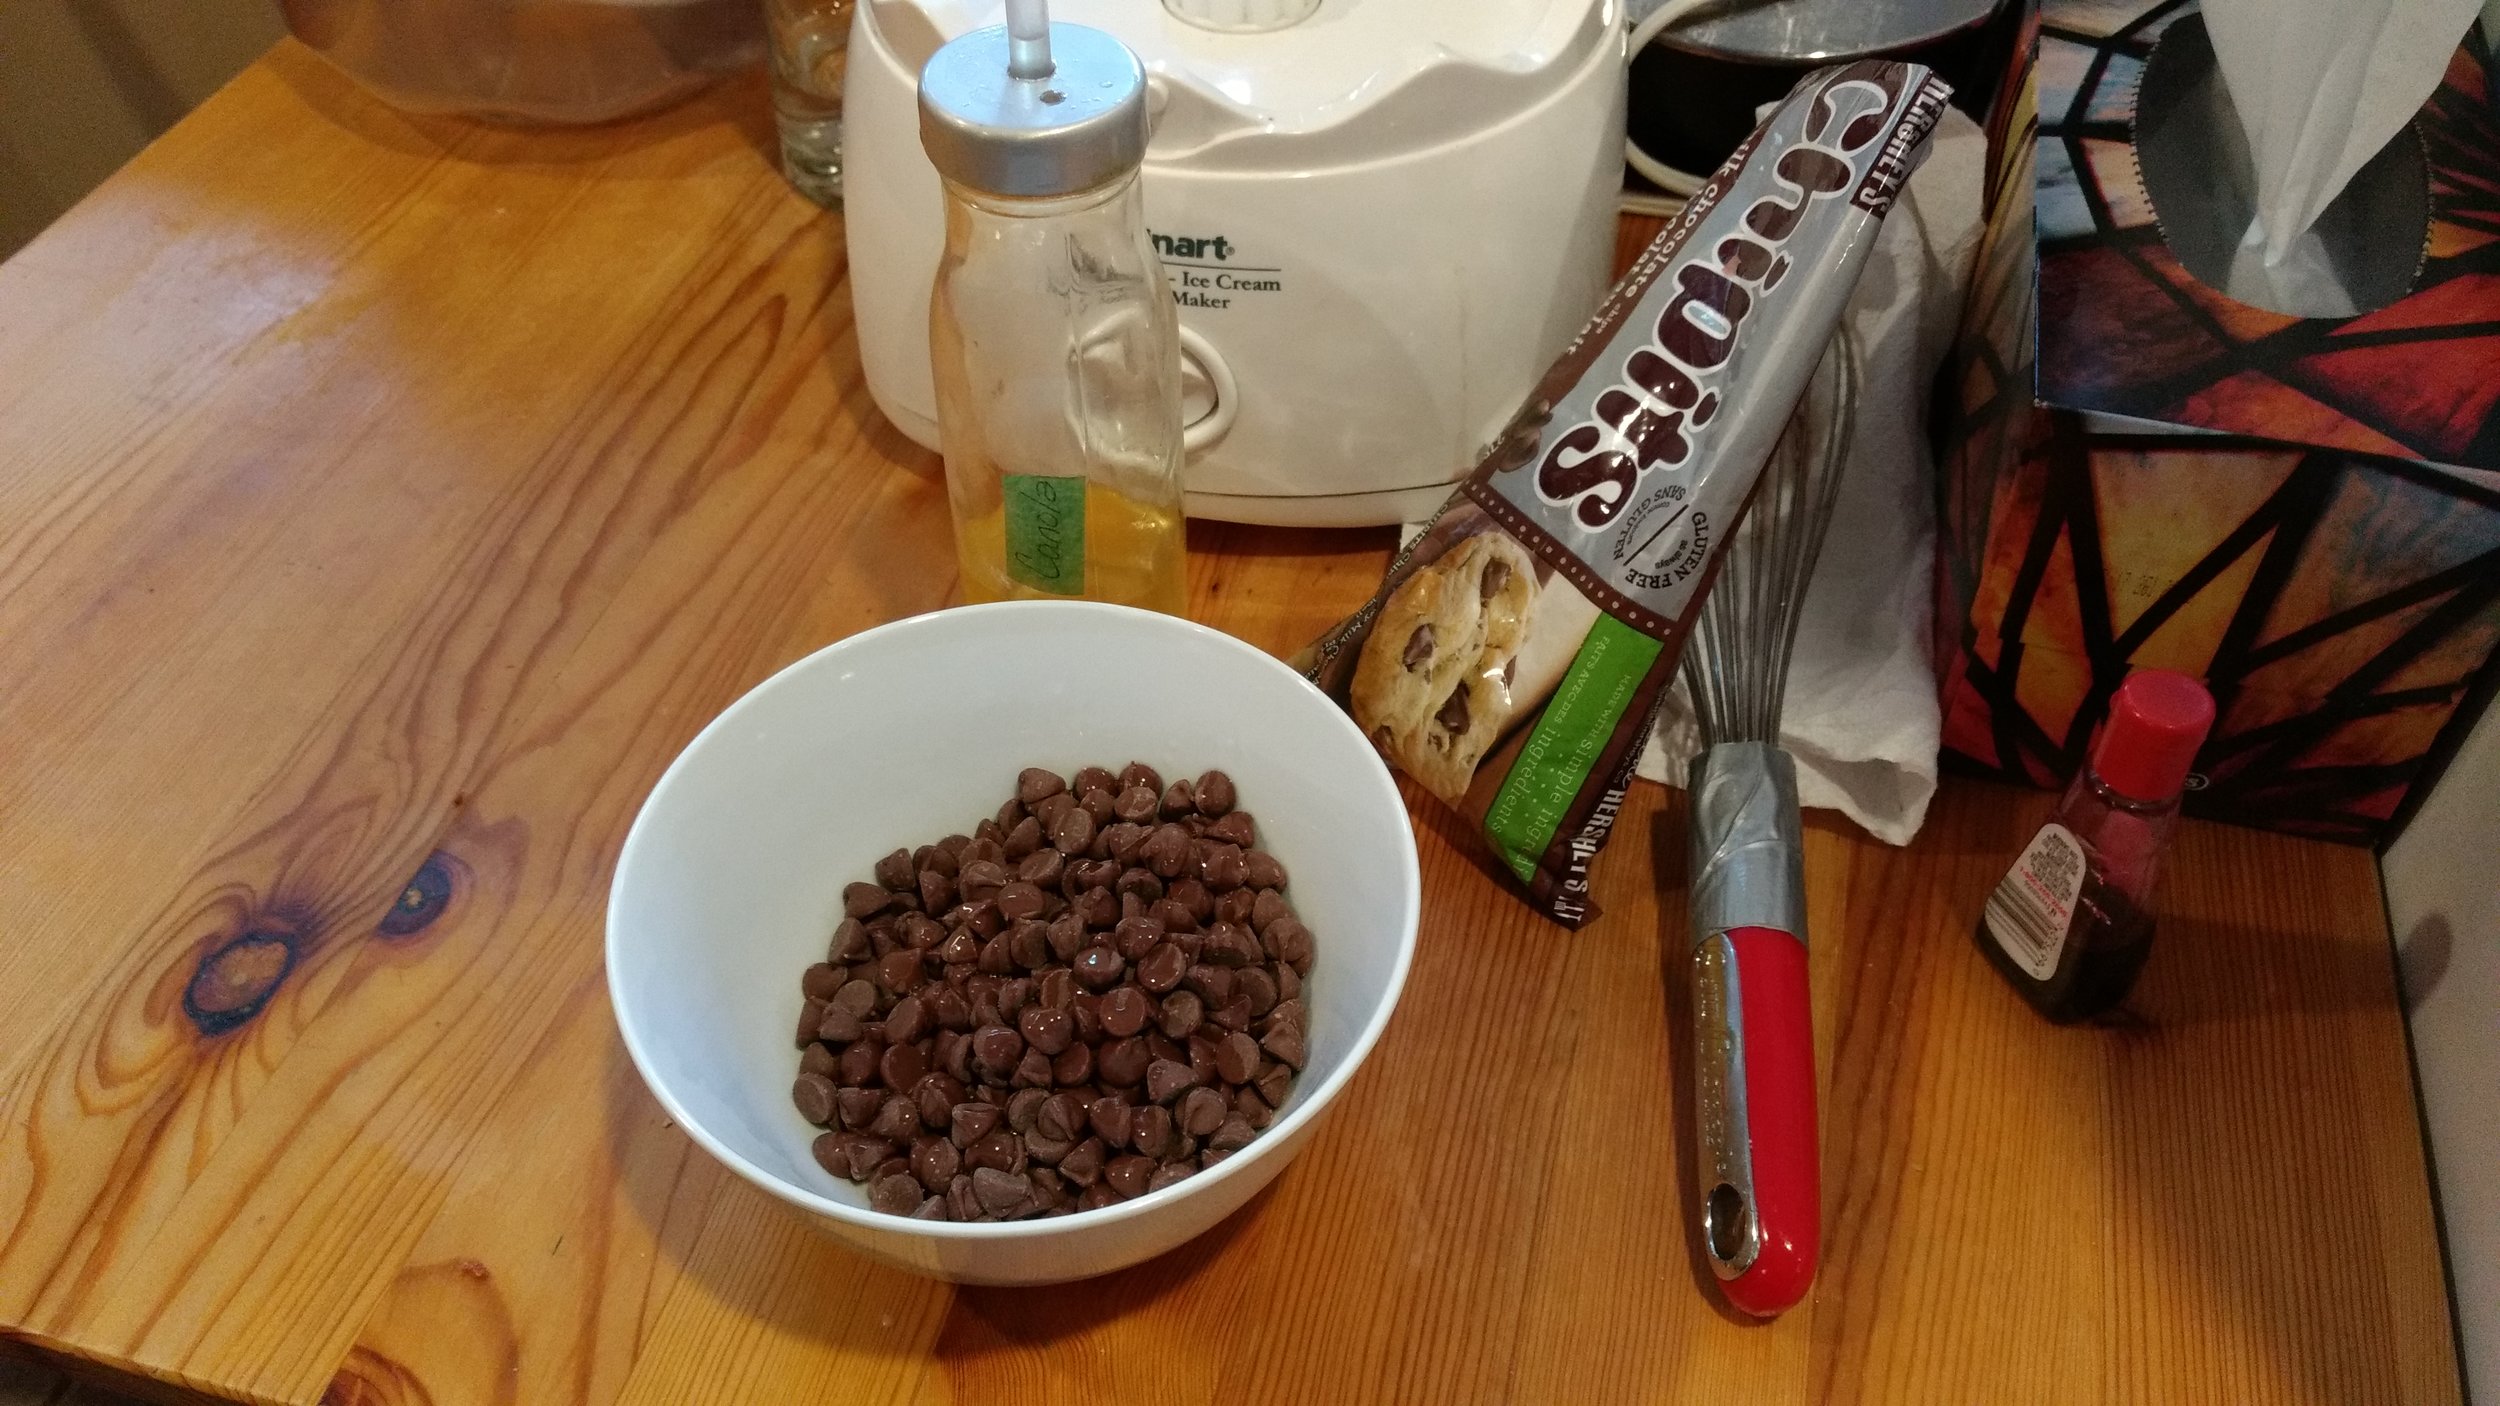
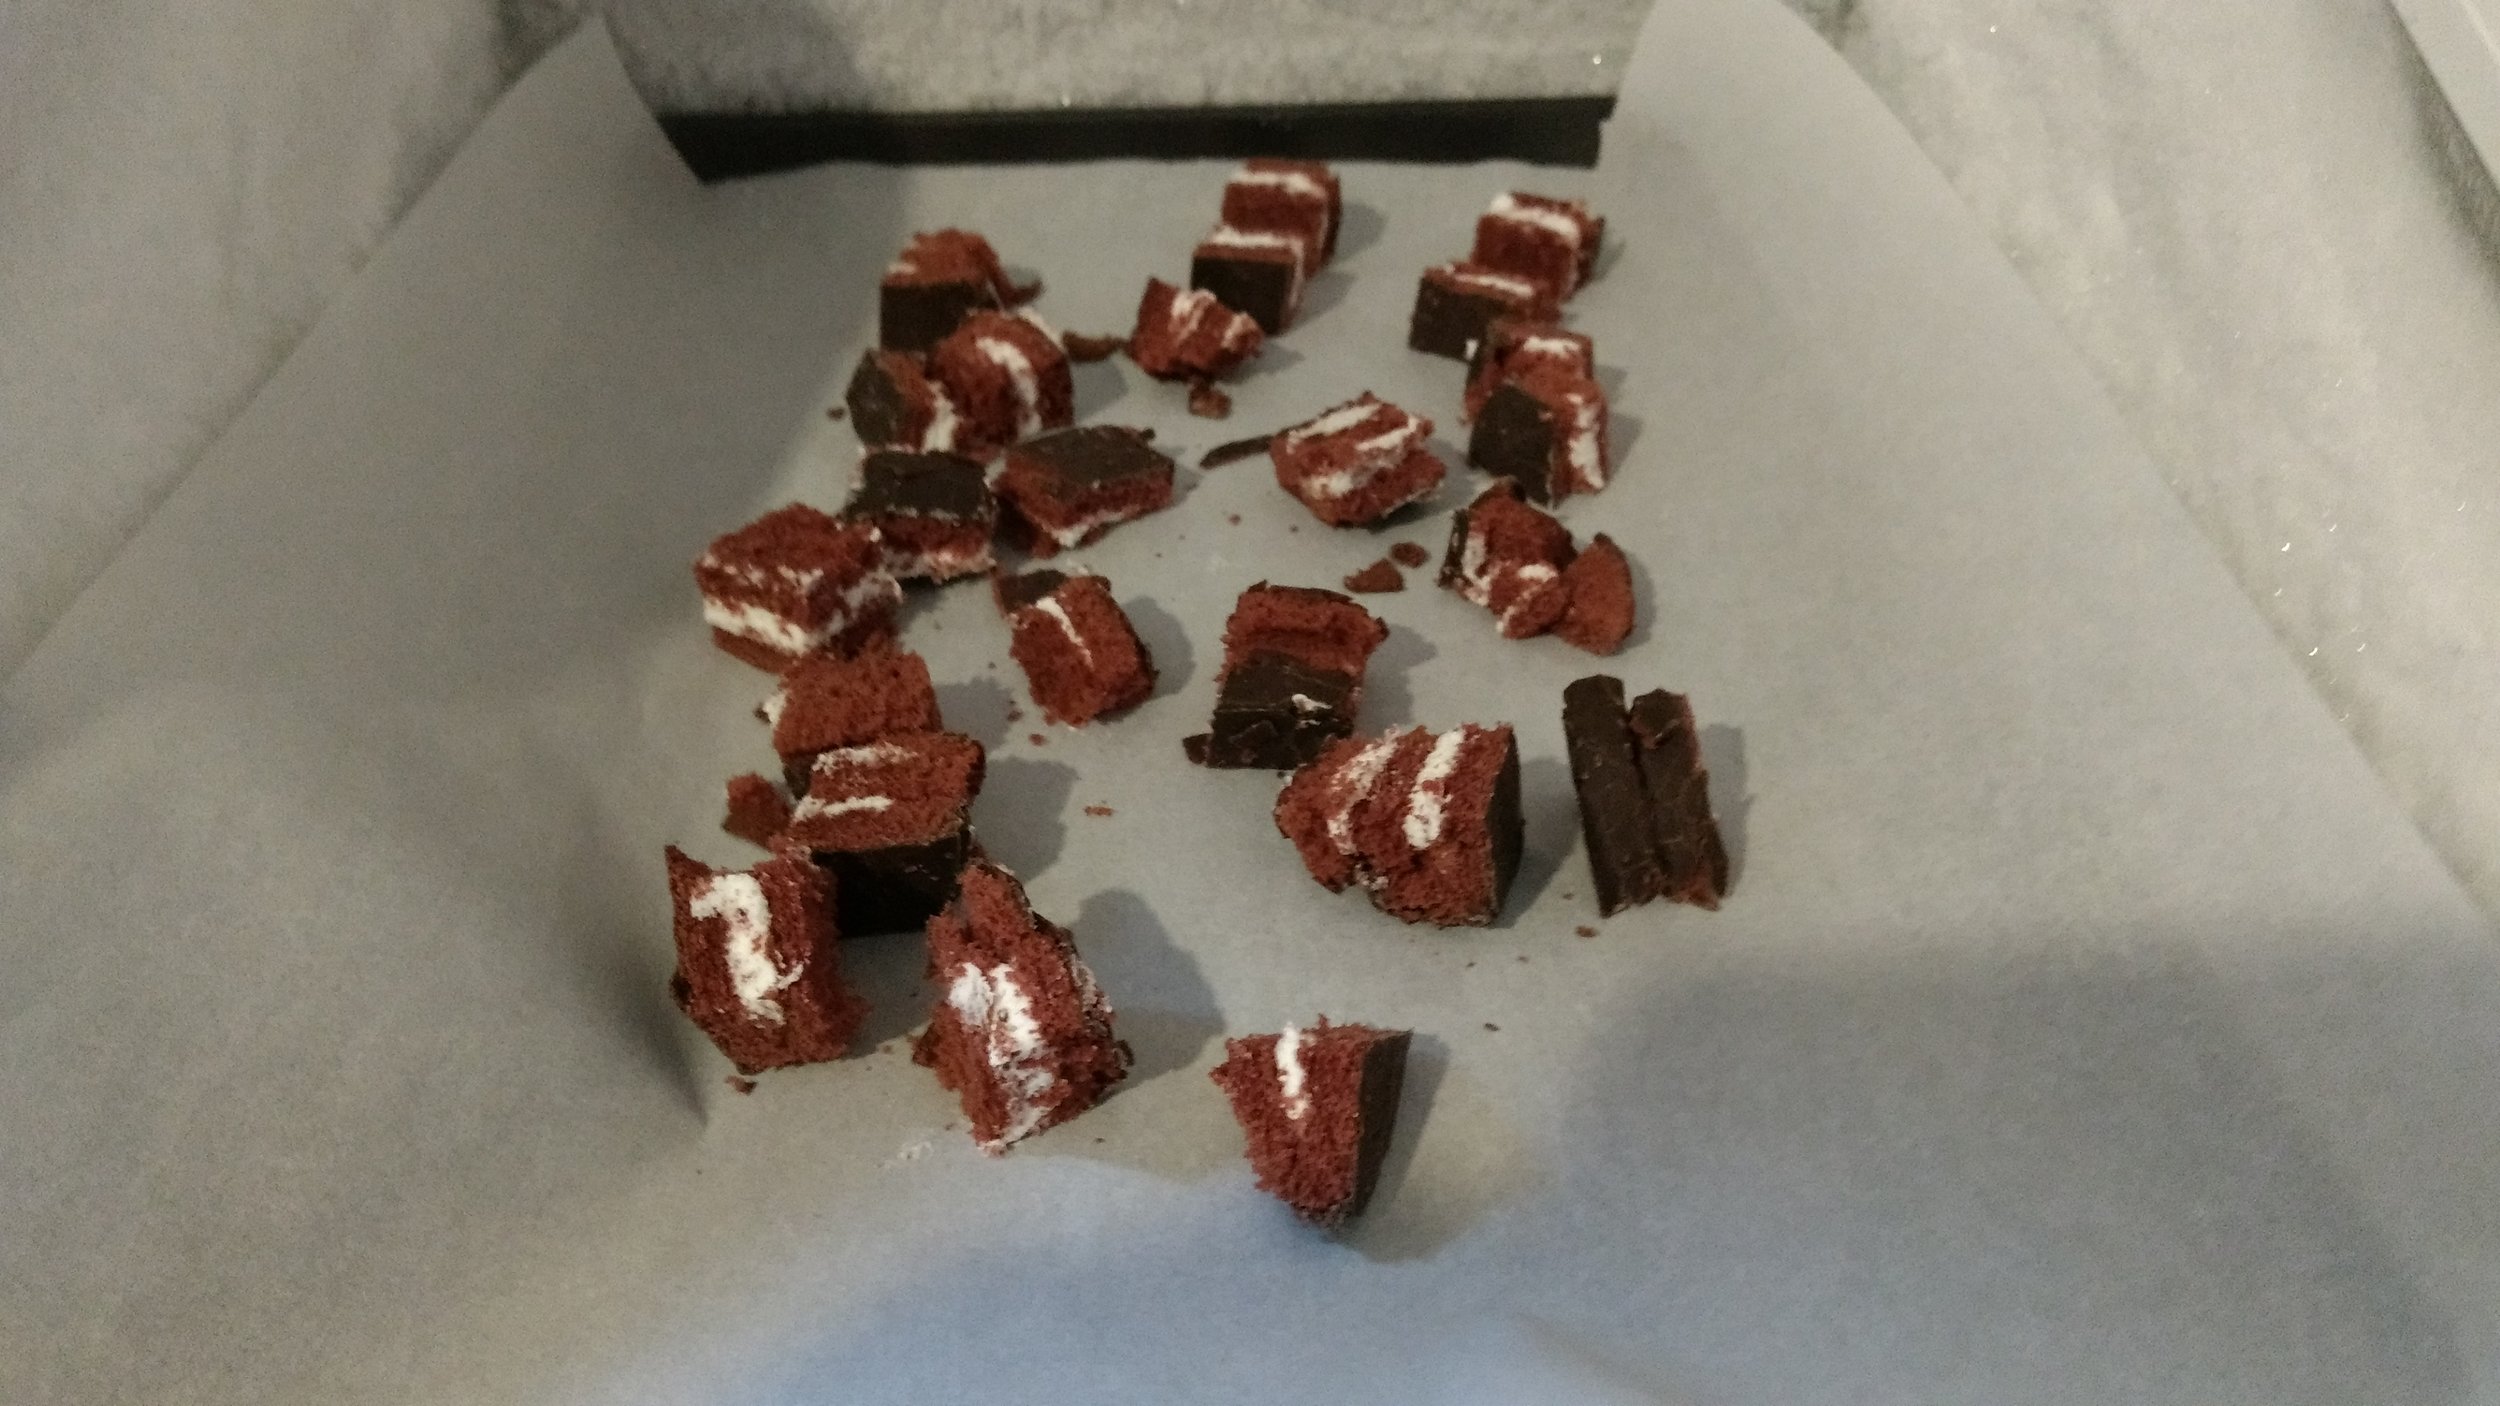
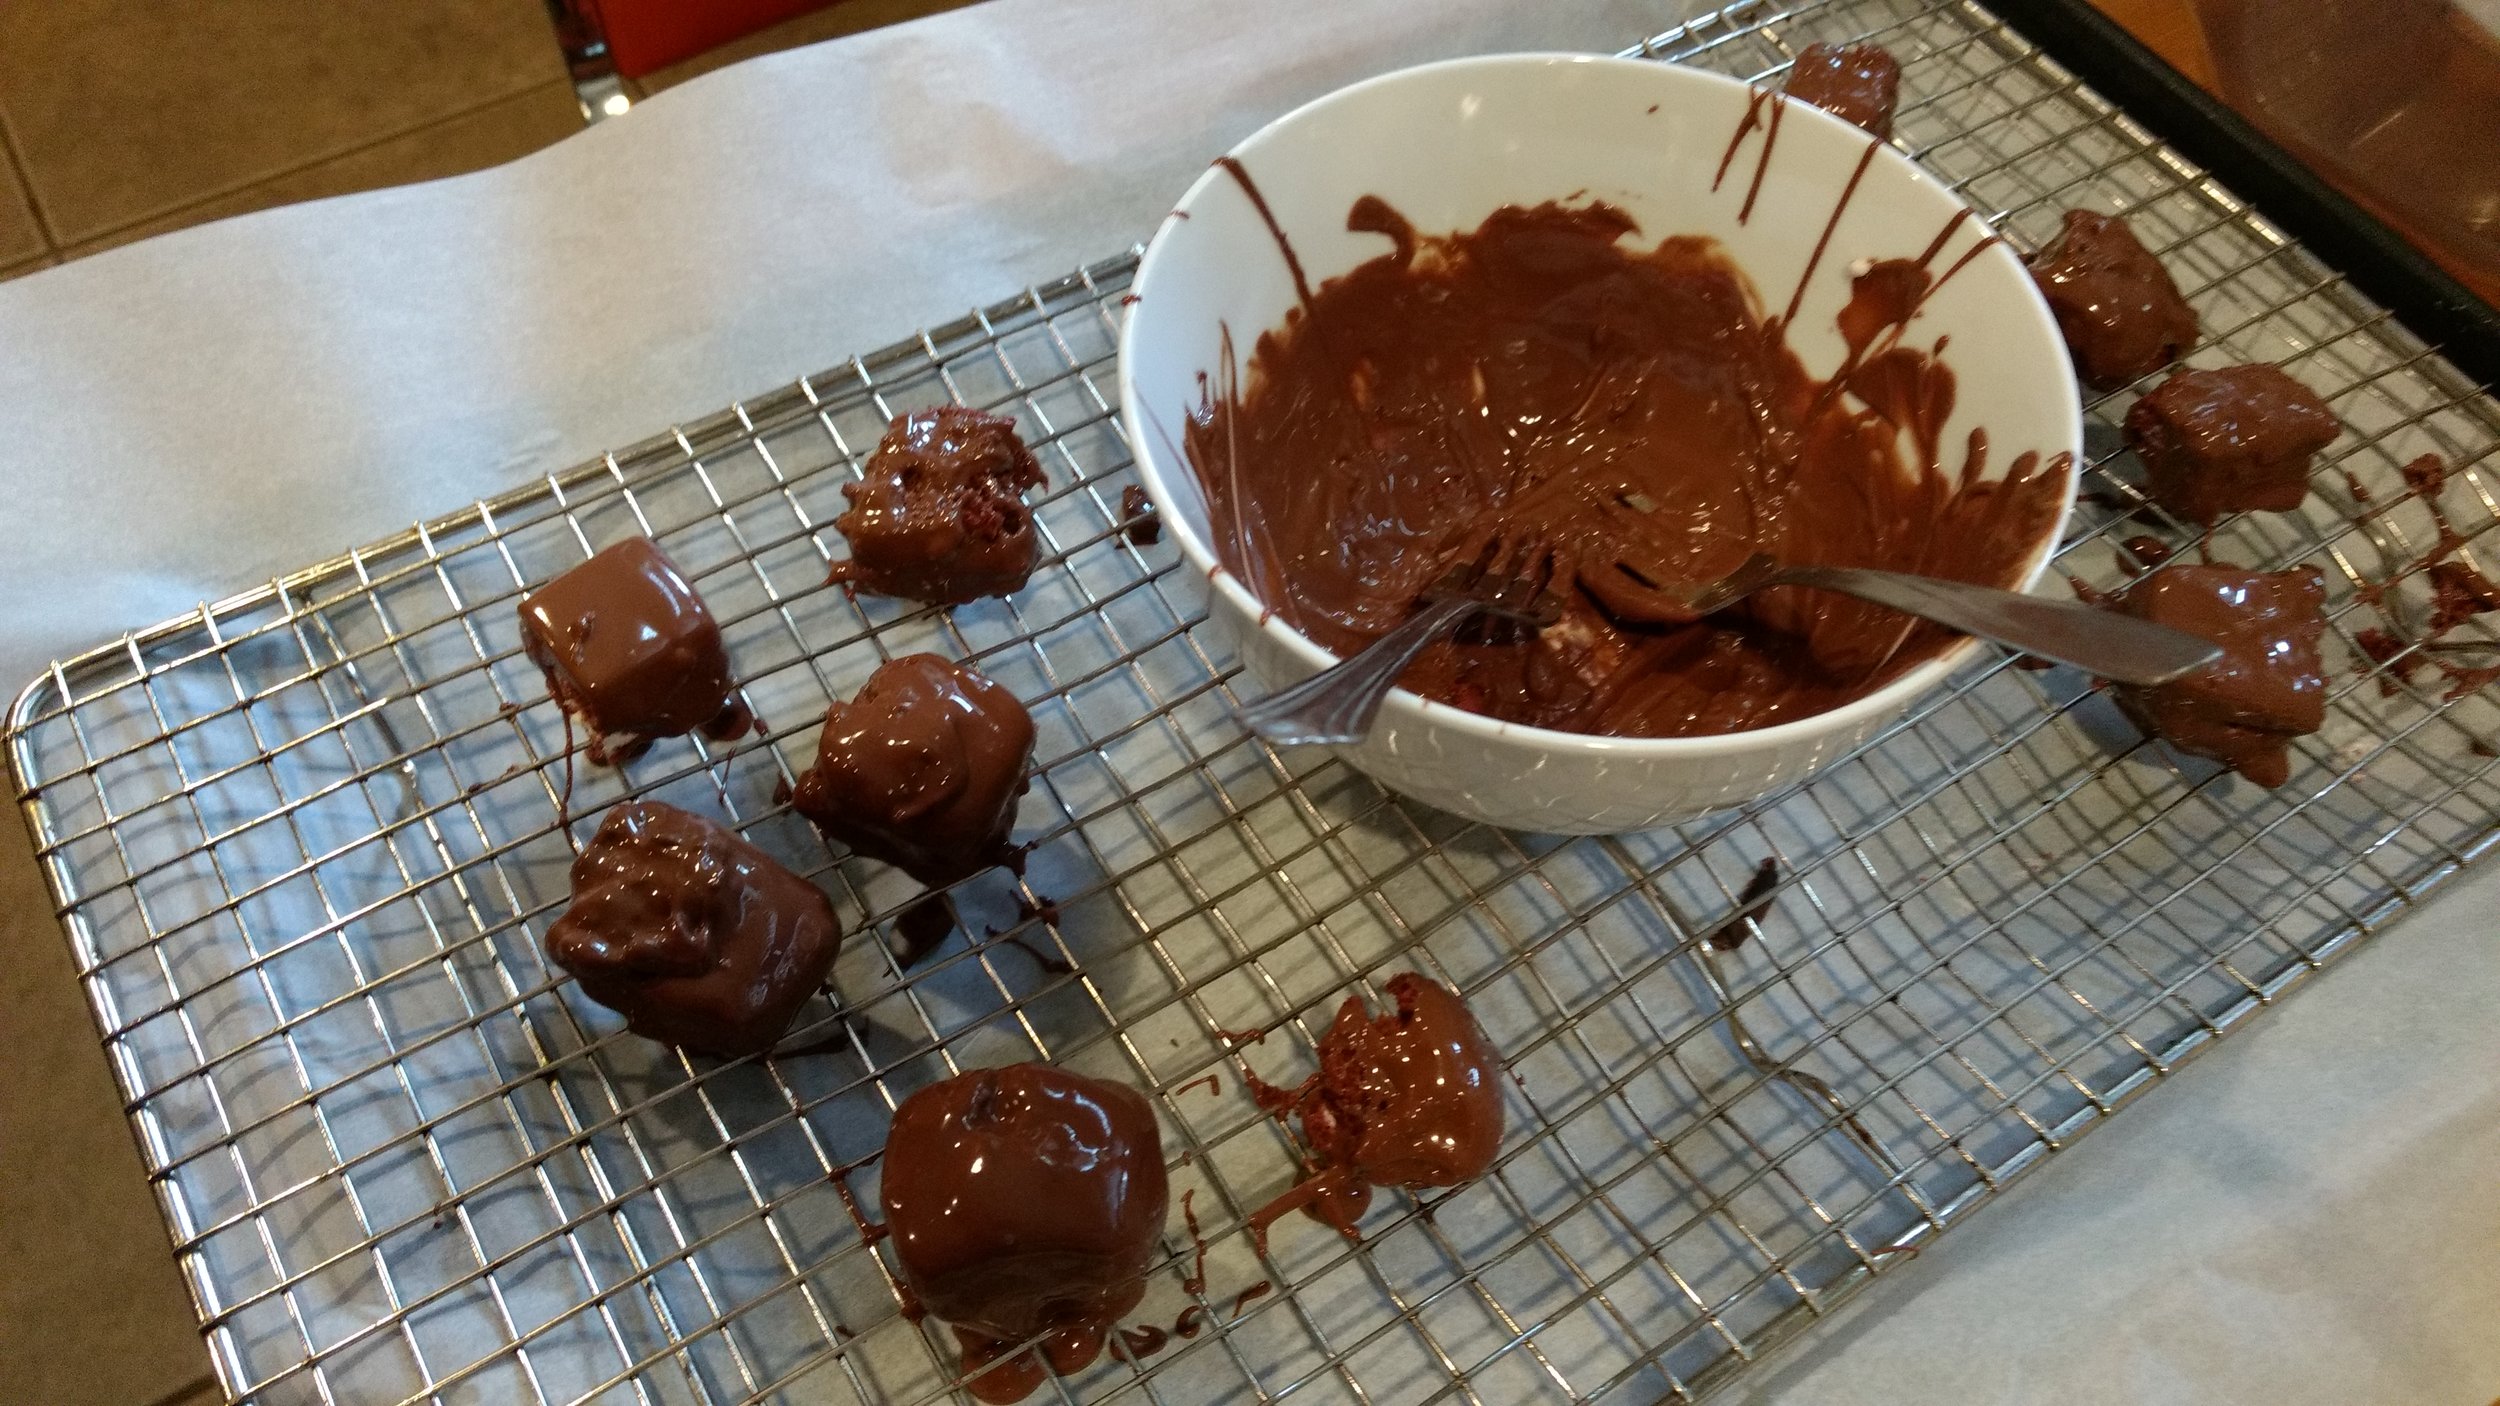
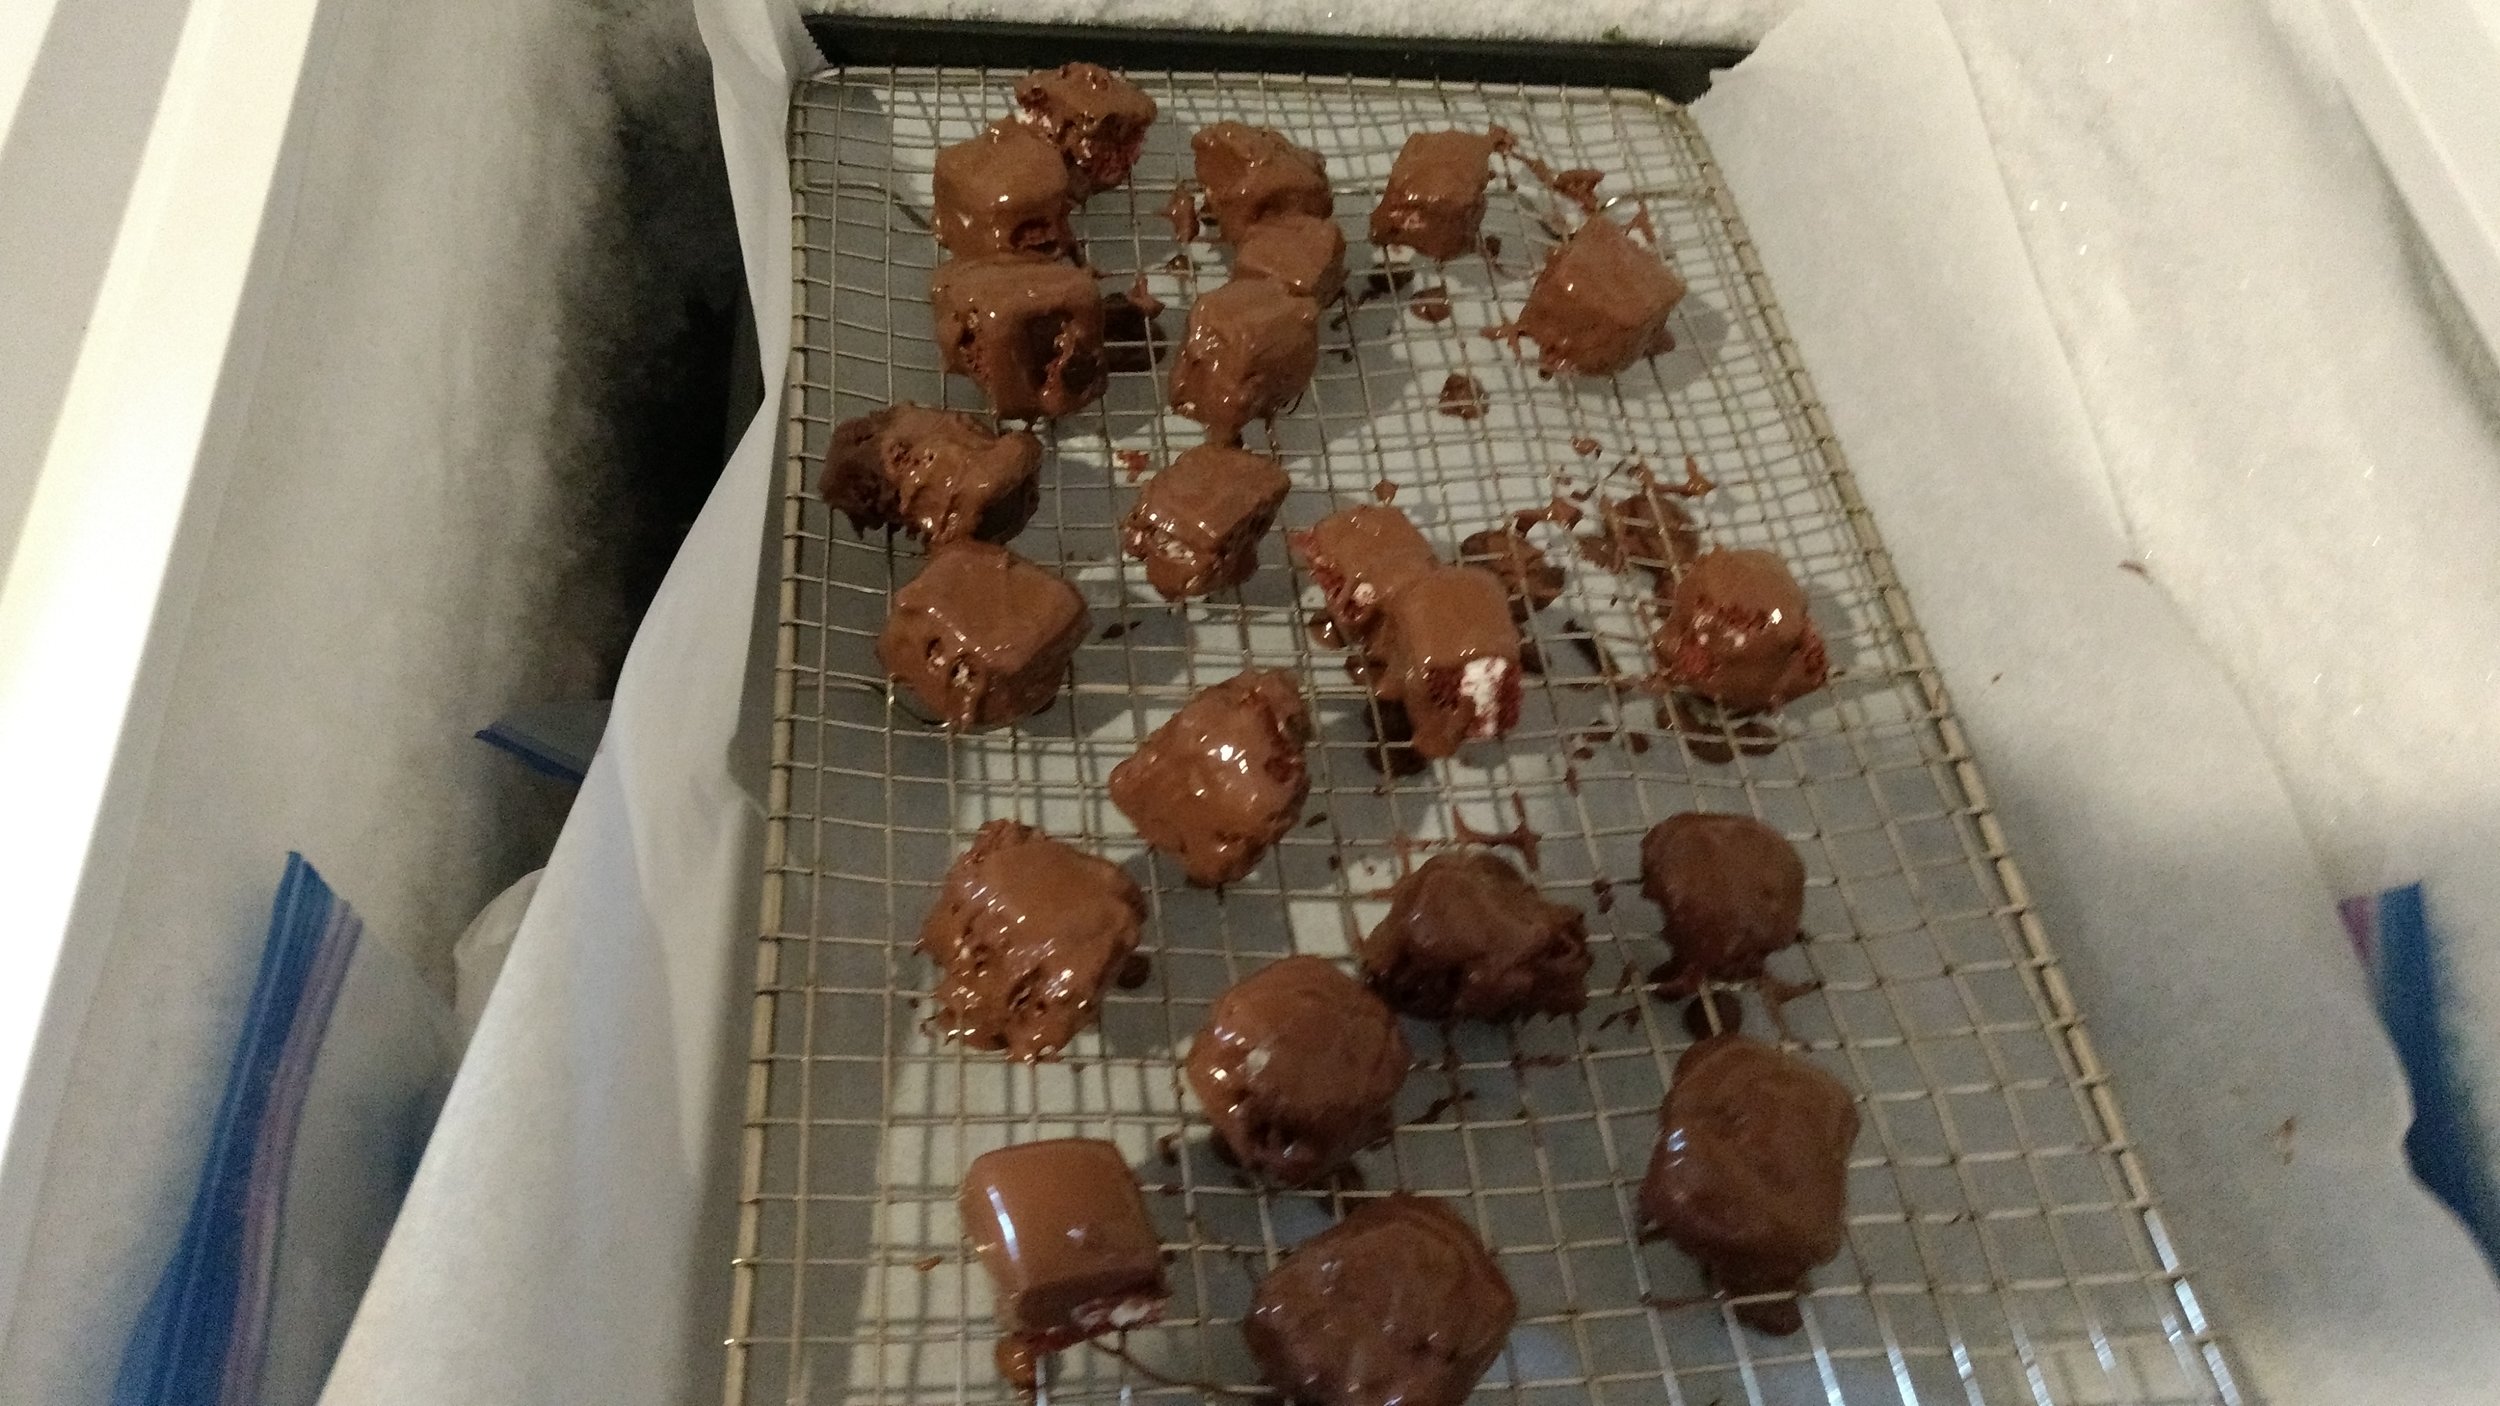
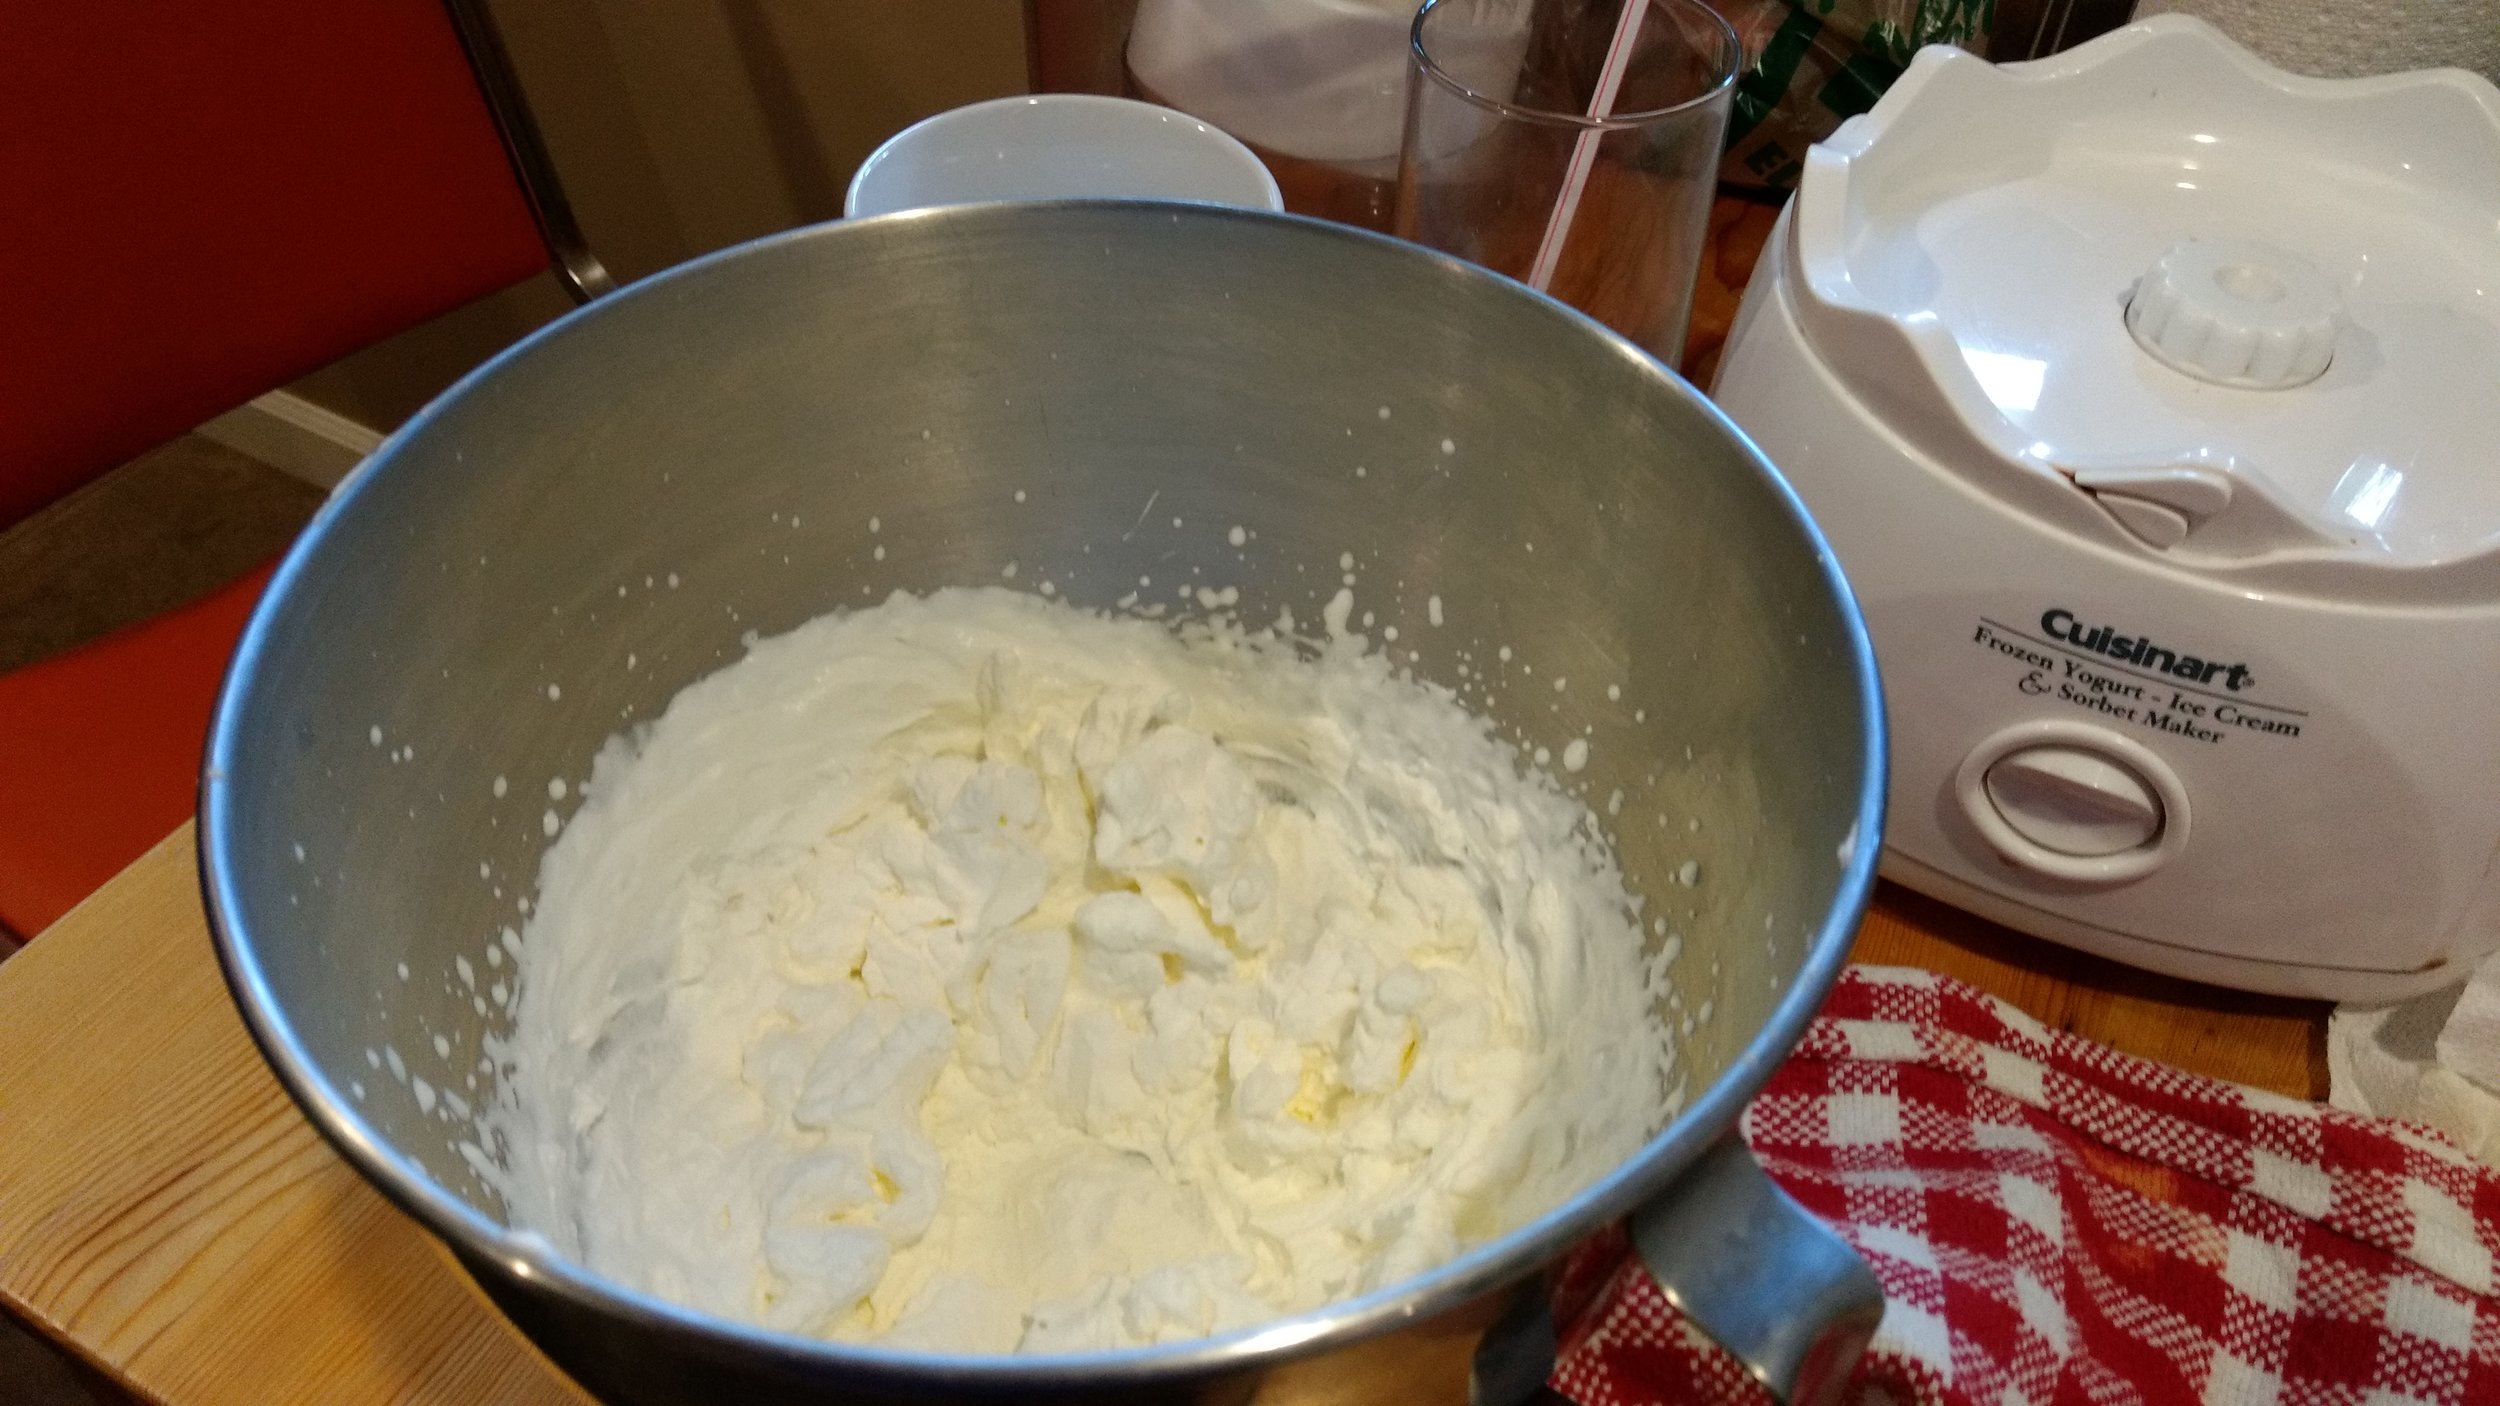
I then left this mixture cool in the fridge overnight. To not overfill my ice cream machine, I measured 1 L of this mixture with a little left over to stay in the fridge. I broke apart and vigorously mixed in one double-decker Jos Louis directly into the liquid base. It was returned to the fridge while three more Jos Louis cakes were cut up and put in the freezer. Once the cake pieces were slightly chilled, some milk chocolate was melted in the microwave with a drizzle of vegetable oil. Each chunk was coated and returned to a cooling rack to drain the excess chocolate, before everything was returned to the freezer. The point of adding the extra layer to the cake pieces is to prevent them from completely dissolving when being incorporated into the ice cream. Finally one cup of heavy whipping cream was mixed to stiff peaks with roughly a tablespoon of white sugar.

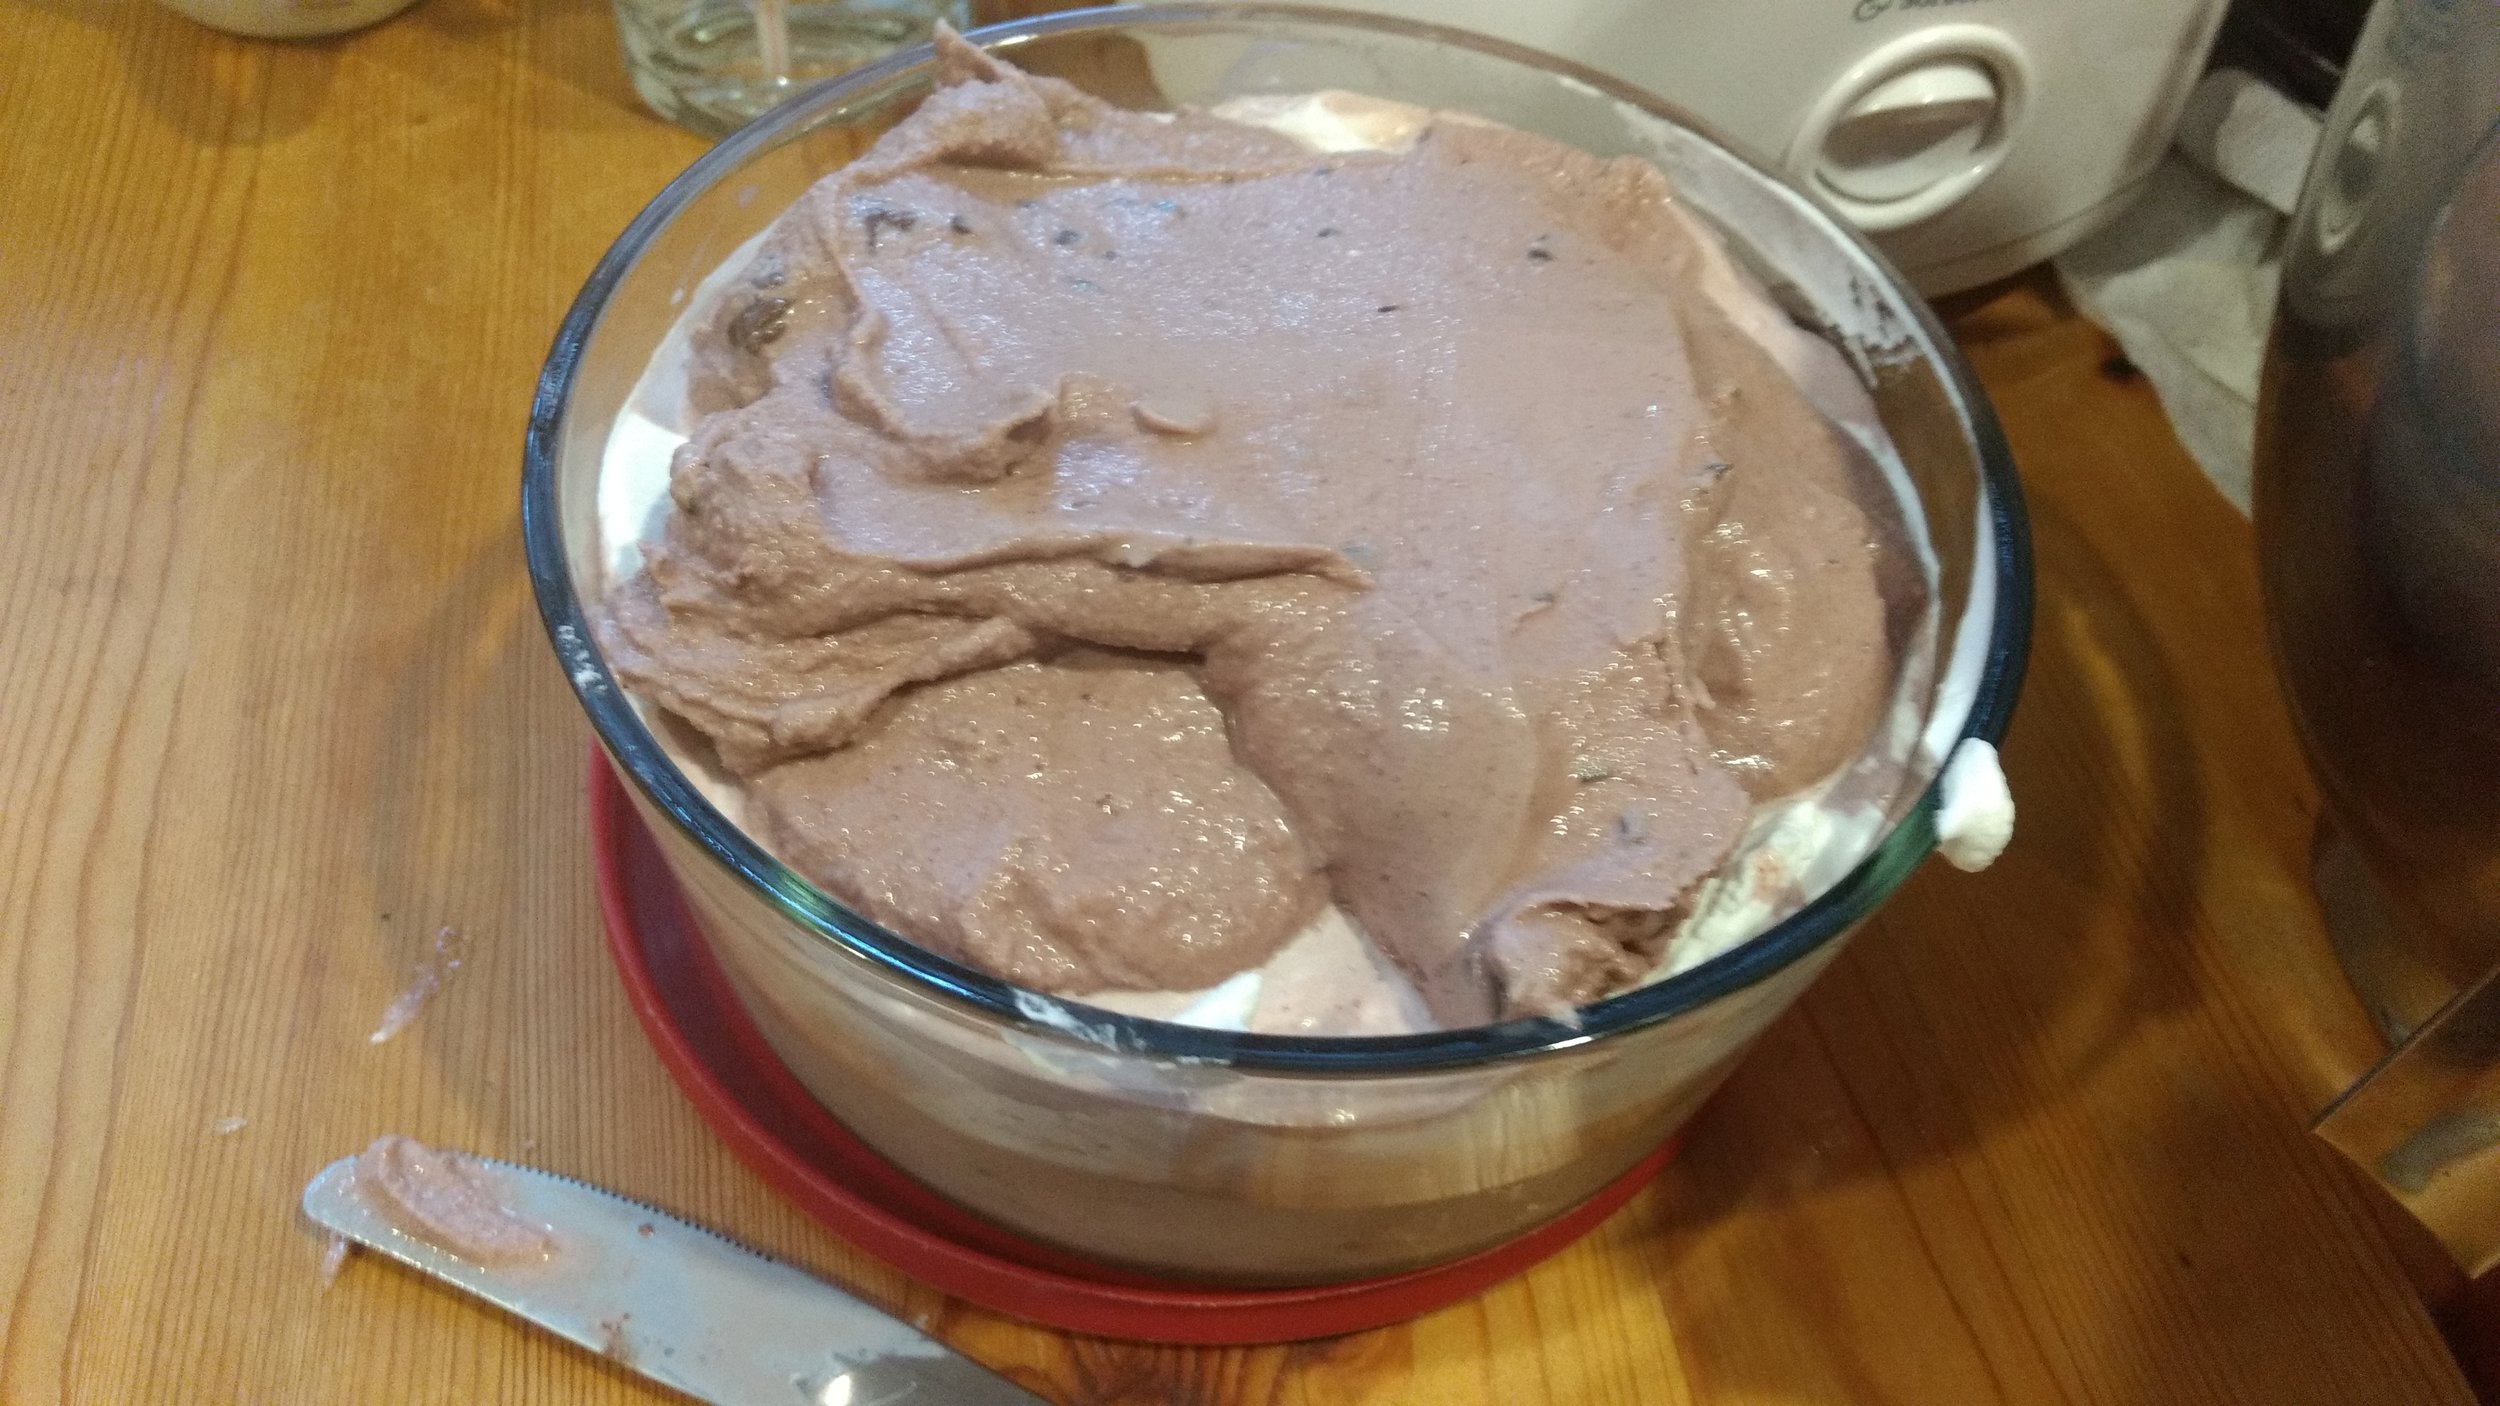
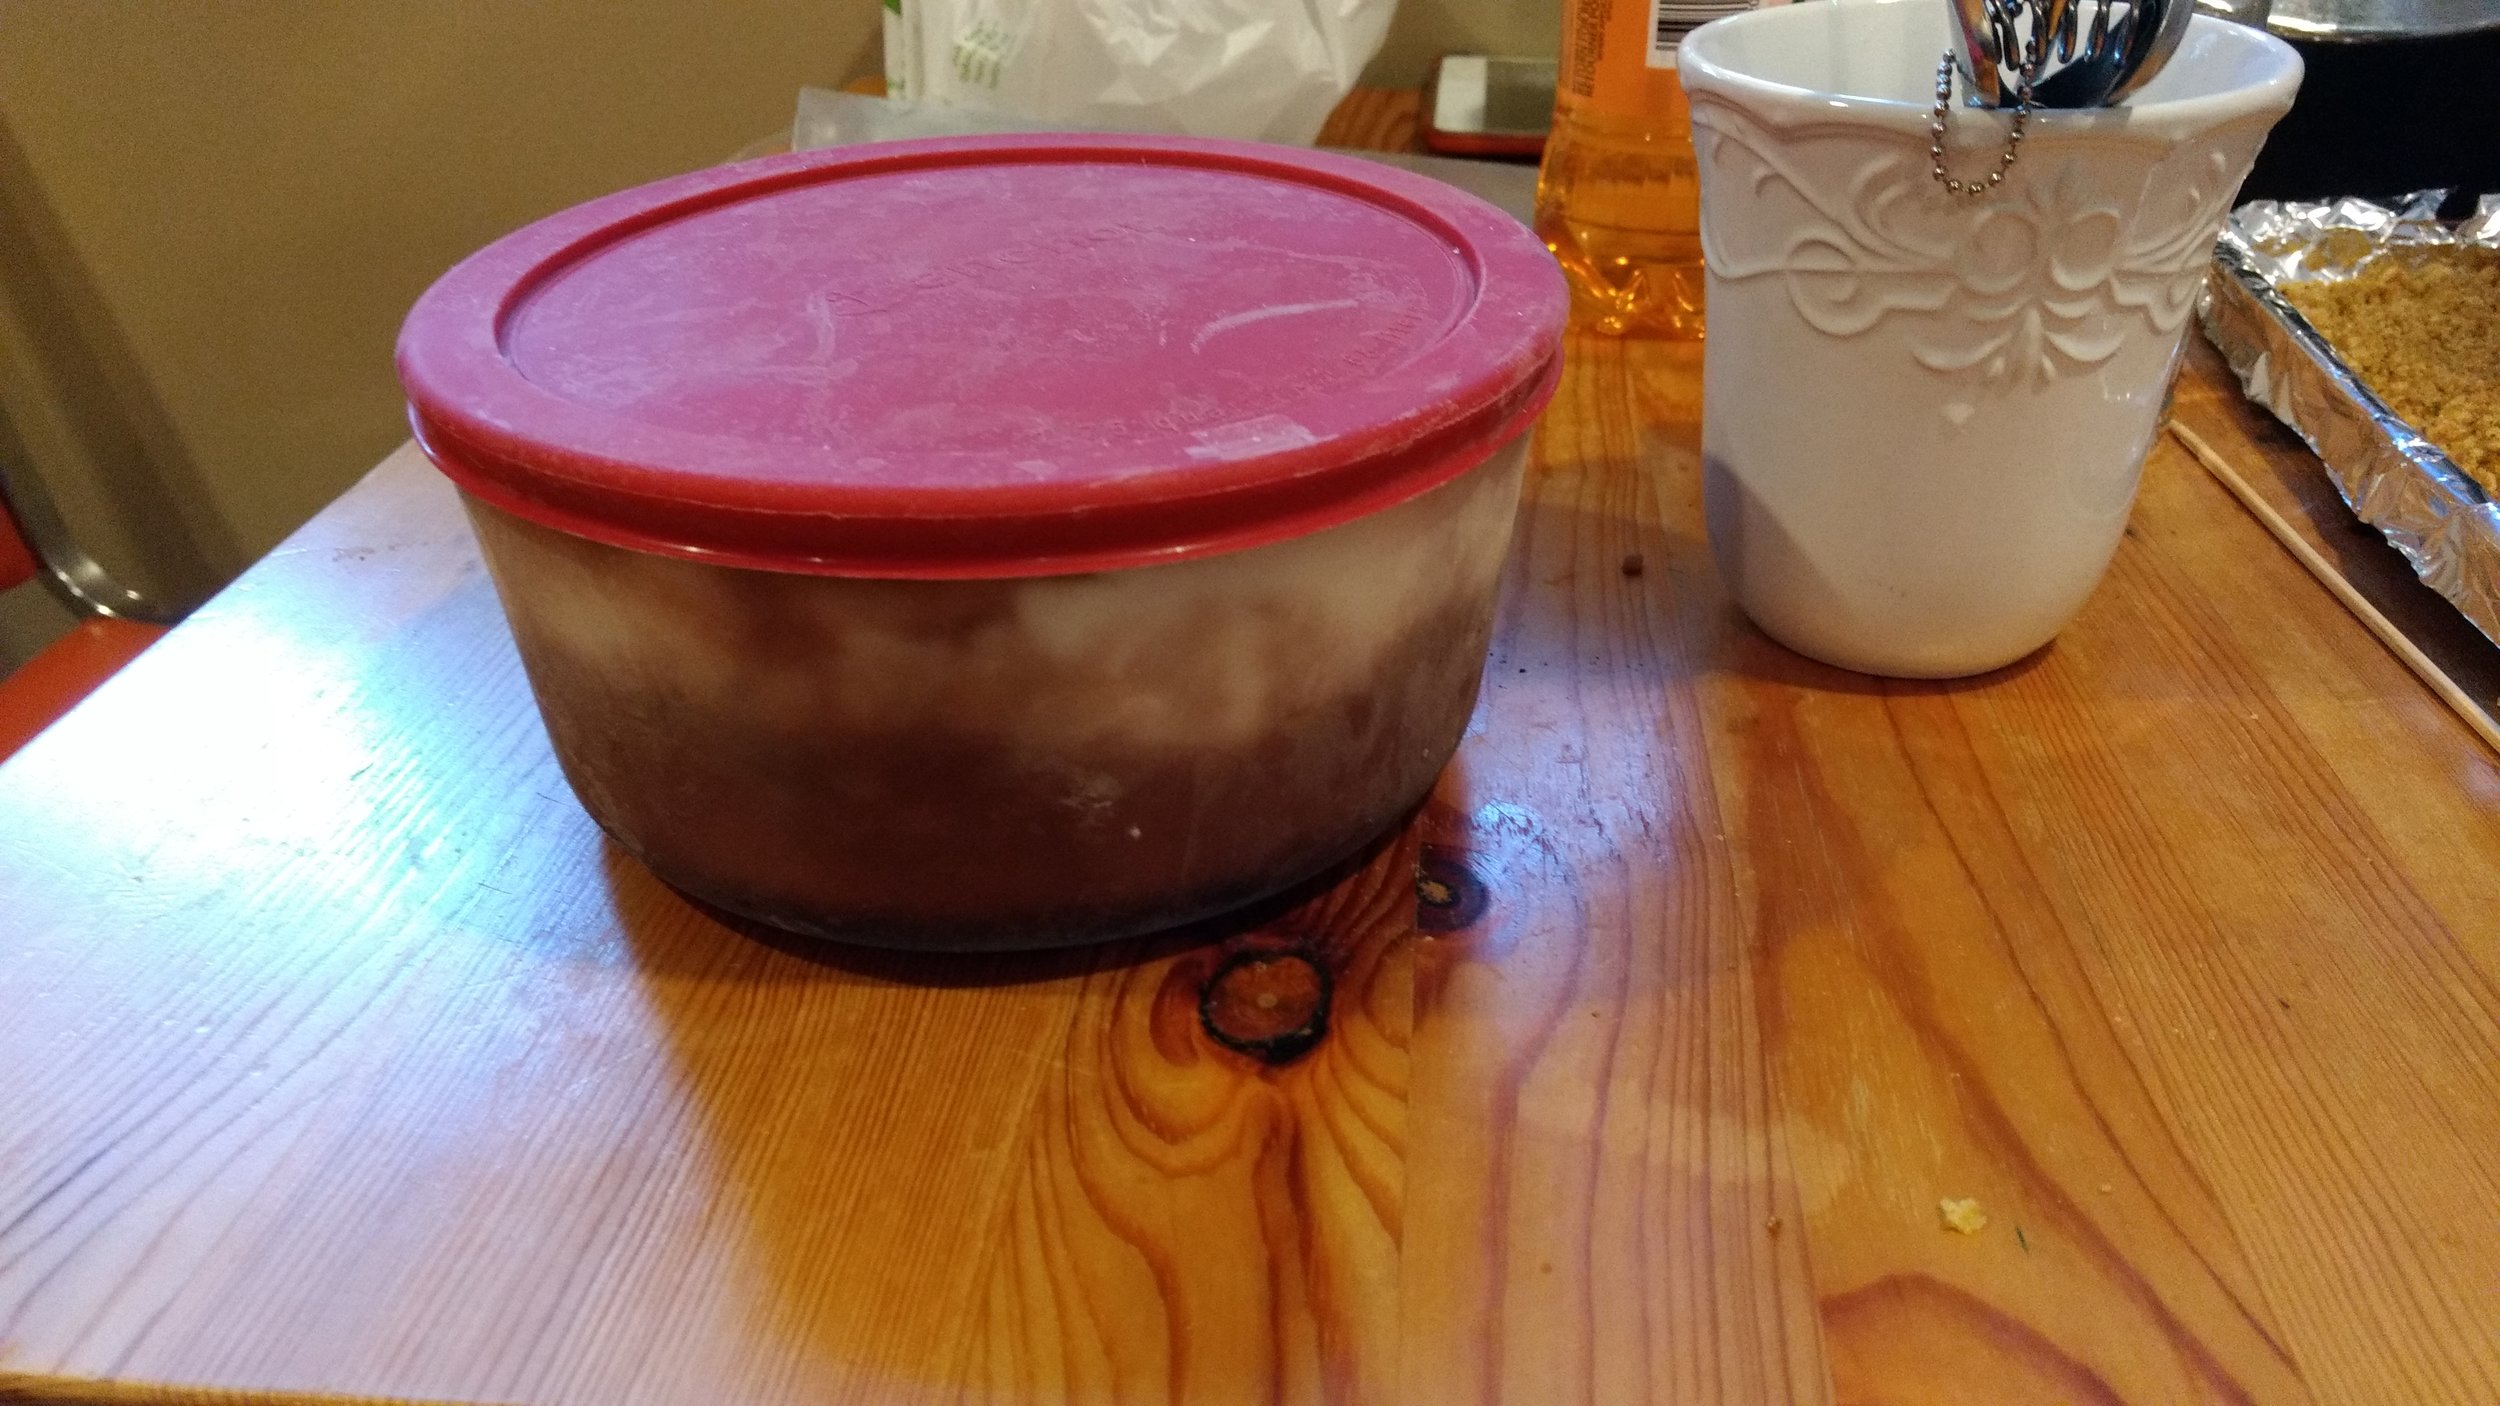
For the final assembly, the liquid ice cream base was churned in a machine for about 20 minutes before adding roughly half of the chocolate covered cake chunks. Once at a soft serve consistency the ice cream was poured into a dish, but with a layer of whipped cream between two layers of the flavored ice cream. This was to give the whole ice cream the look of a layered cake. Once it had frozen overnight it could be served. The flavor was quite good but could still use some adjustments. The whipped cream layer froze quite solid so definitely needs more sugar and/or corn syrup in the future. Overall though I would call this a success.

Egg Coffee Mead

For this coffee mead  I wanted to compare a medium and dark roast that I had on hand.

I started by measuring 8g of each coffee to proceed with a miniature assessment. I did a relatively coarse grind while preparing some boiling filtered water. The coffee grounds were steeped for about five minutes before smelling and tasting. Ultimately this was probably over complicated and I decided on a combination to balance the taste and aroma that I thought would pair best with honey.

For the full batch I measured 75g of each coffee. I did a slightly finer grind, although next time I would probably go even finer. For the infusion I'm using the Scandinavian technique of egg coffee. I ended up combining the grounds with a total of six eggs, this will clarify and mellow the resulting coffee. The mixture was combined with 3L of room temperature distilled water before being put on maximum heat. Once it reached boiling it was left for 10 minutes before turning the heat off and cooling with a splash of additional water. The egg coffee was filtered and topped off with some additional distilled water to reach a total of 3L again. It did end up being very mild but I think it will be a nice amount of coffee flavor for the mead, although I may attempt to make future batches slightly stronger.

After cooling in the fridge overnight I brought a small amount of coffee to a boil. This was to dissolve the  900g of honey. Once that had dissolved and cooled down I added it to the remaining coffee, and pitched the yeast.